Distilled water is cheap (especially when you make it), but having to change the water frequently is a pain. Up until now the coolant for the laser has consisted of a bit of distilled water in an open aquarium. Bacteria and algae grew fast and changing the water was needed every couple of days to keep it from getting slimy.
Ideally, at some point in the future, I will change the coolant to Dowfrost. Or maybe I’ll be convinced that RV antifreeze is okay to use, but I can’t say for sure what is in whatever brand they have at the hardware store, or even what concentration of propylene glycol. If it is mixed too weak you won’t be dehydrating the micro organisms anymore and the glycol will just bee a food source.
I found a couple people using a low power inline UV sterilizer and straight distilled water with good results. I’m not sure it will work indefinitely, but if can keep growth down and allow me to do water changes after a month or two I think I’ll call it a success.
I opted for a 3 watt UV-C sterilizer from JBJ Lighting, the Nanozapp JB7356 . It should be sufficient for the five gallon reservoir and 800L/hr flow of the pump that came with the laser.
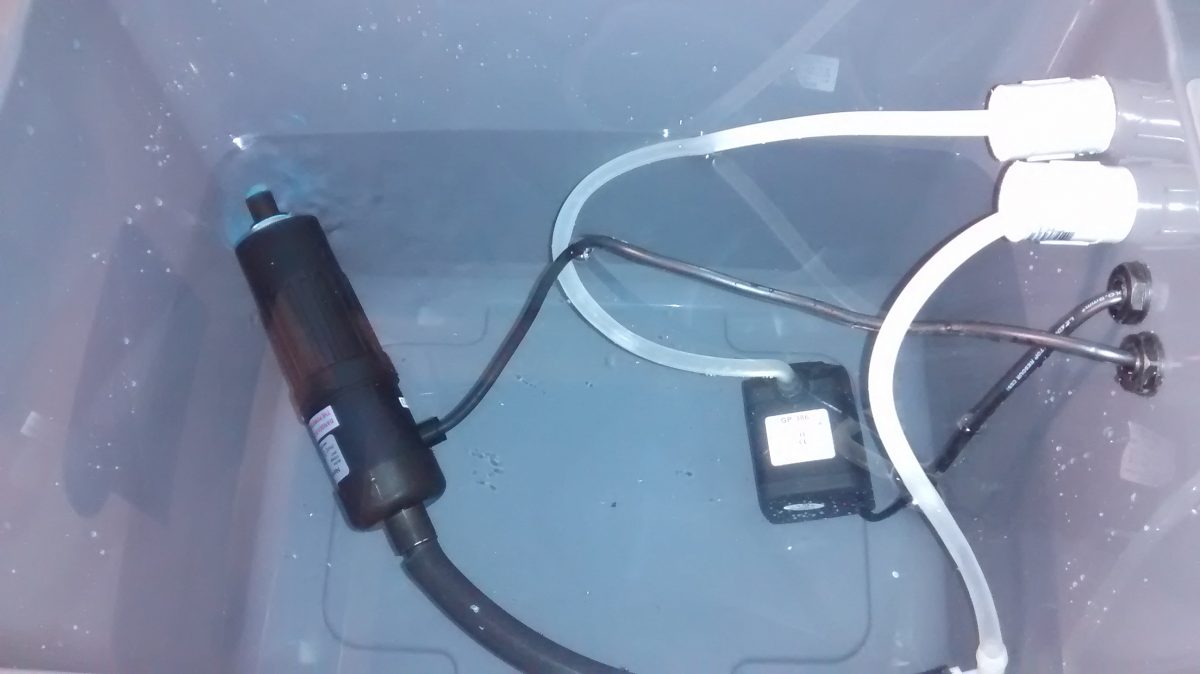
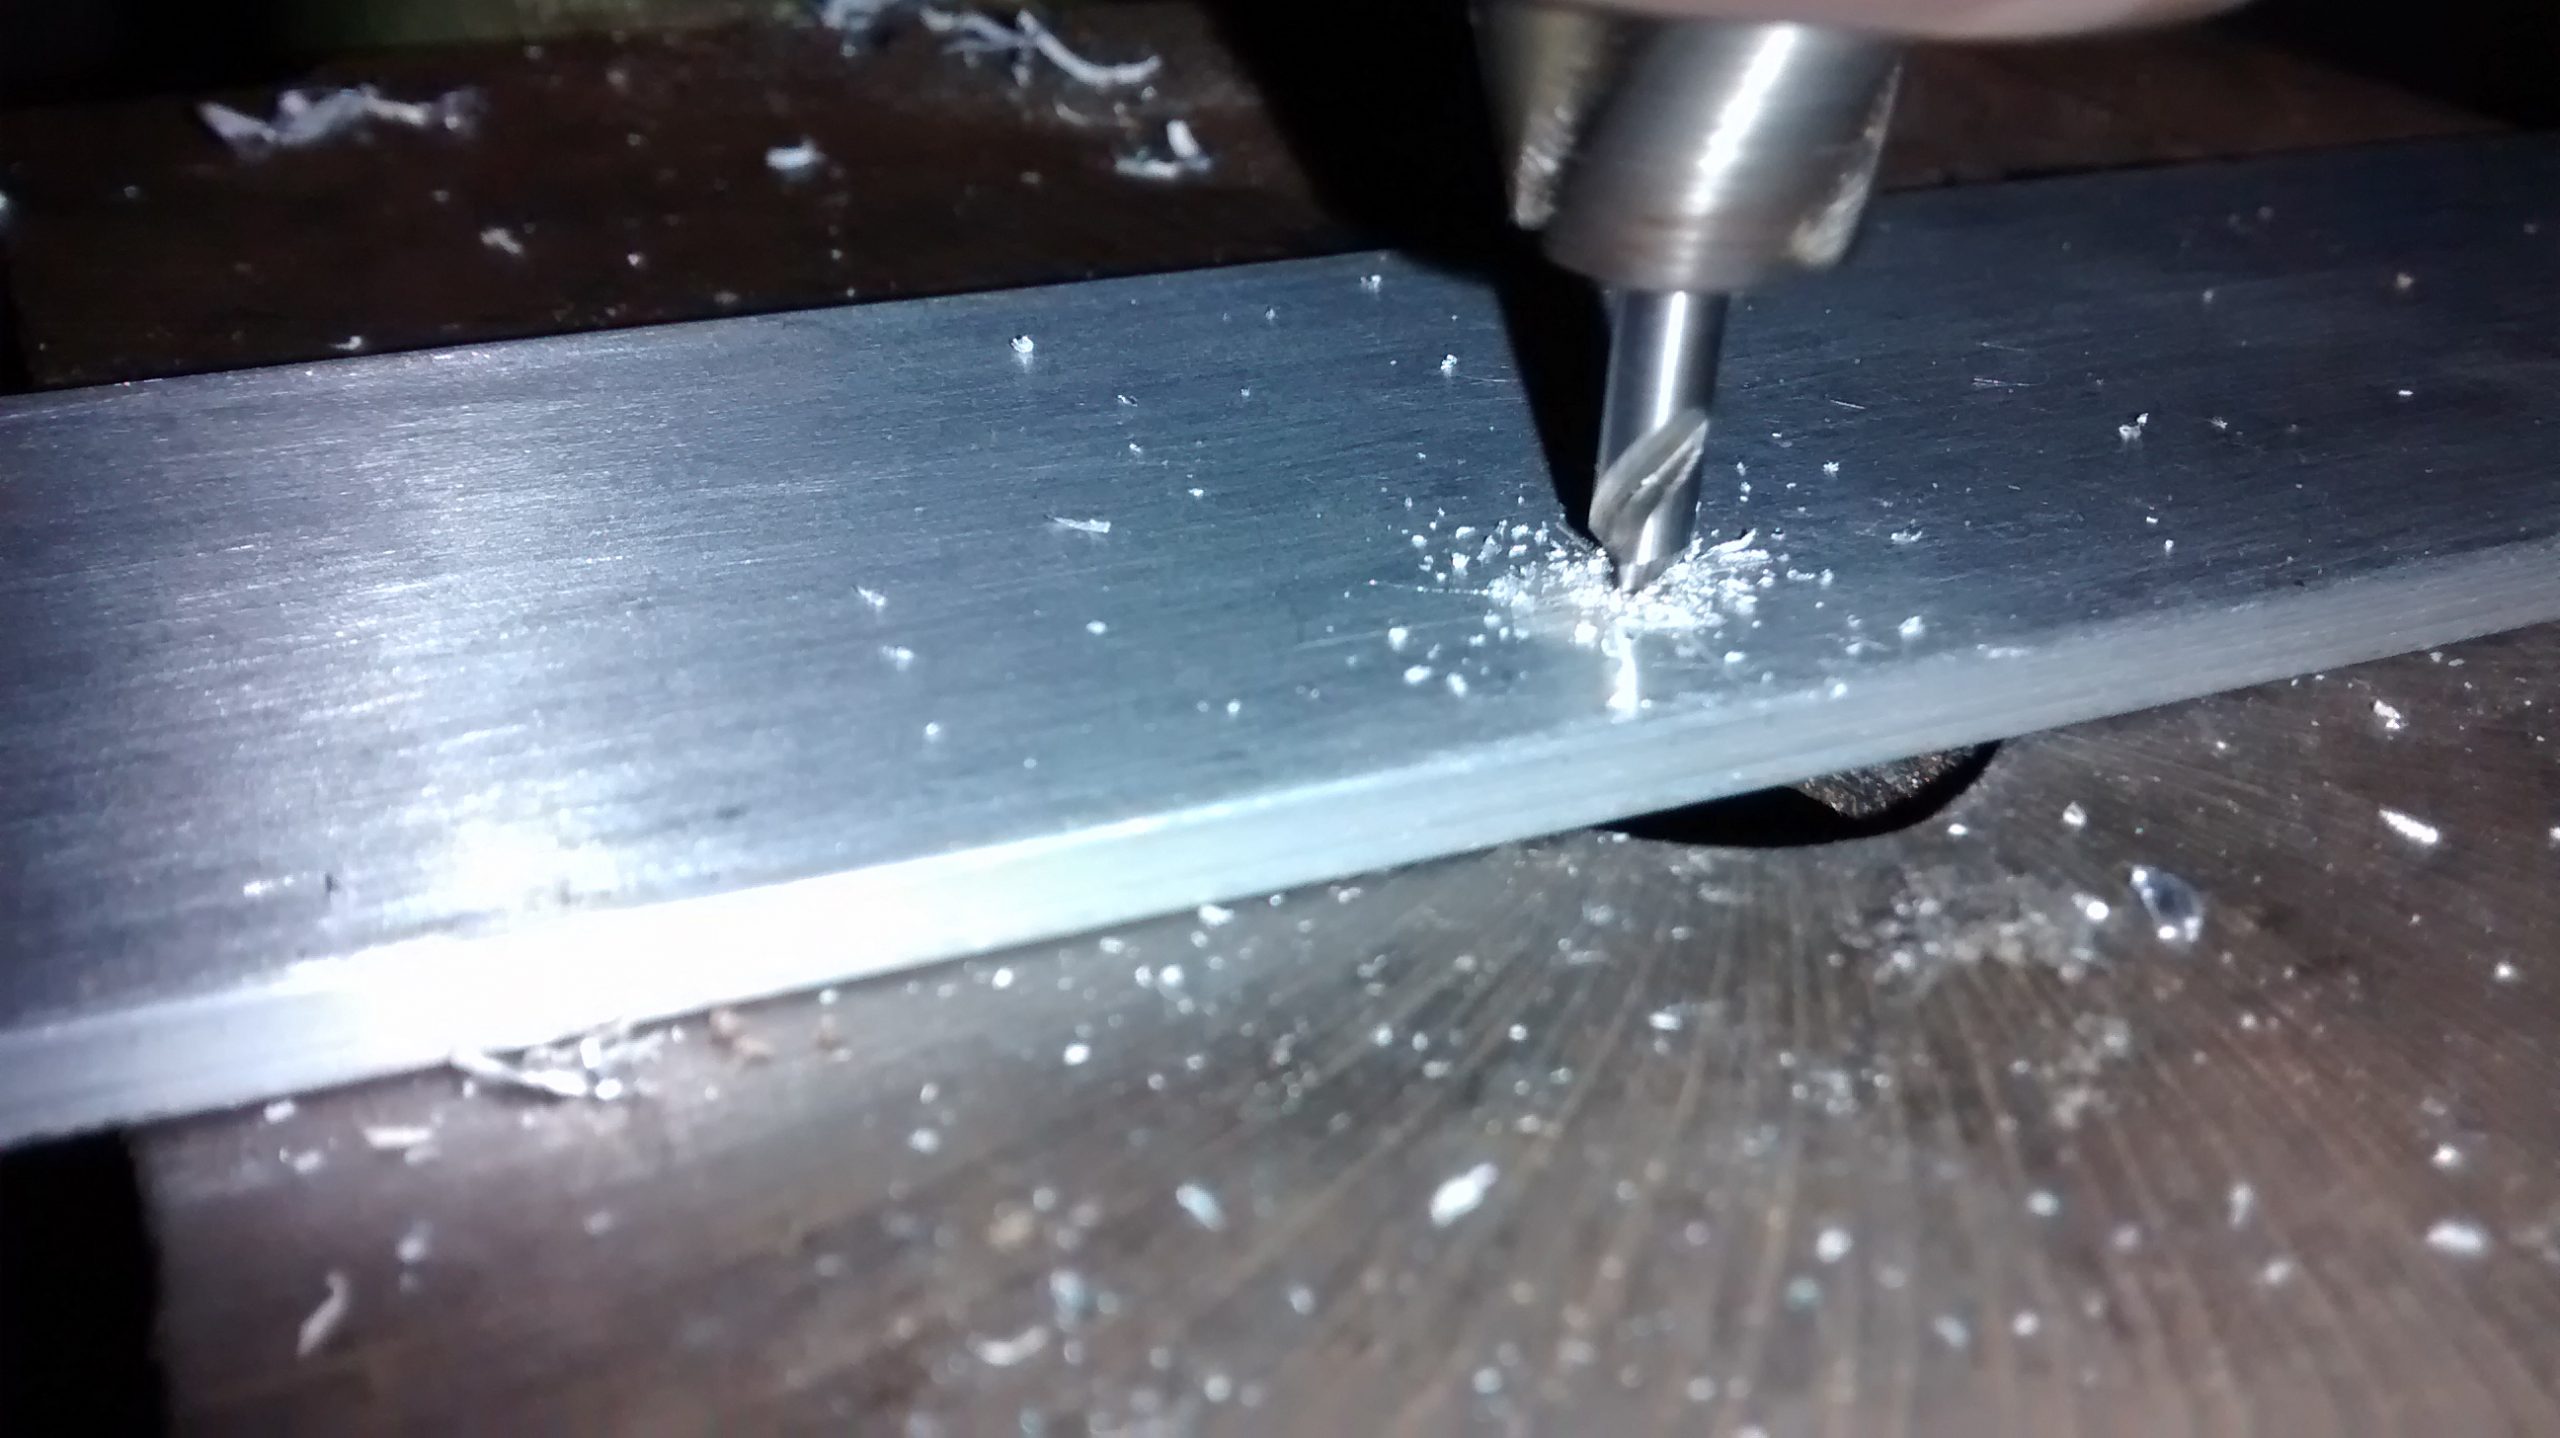
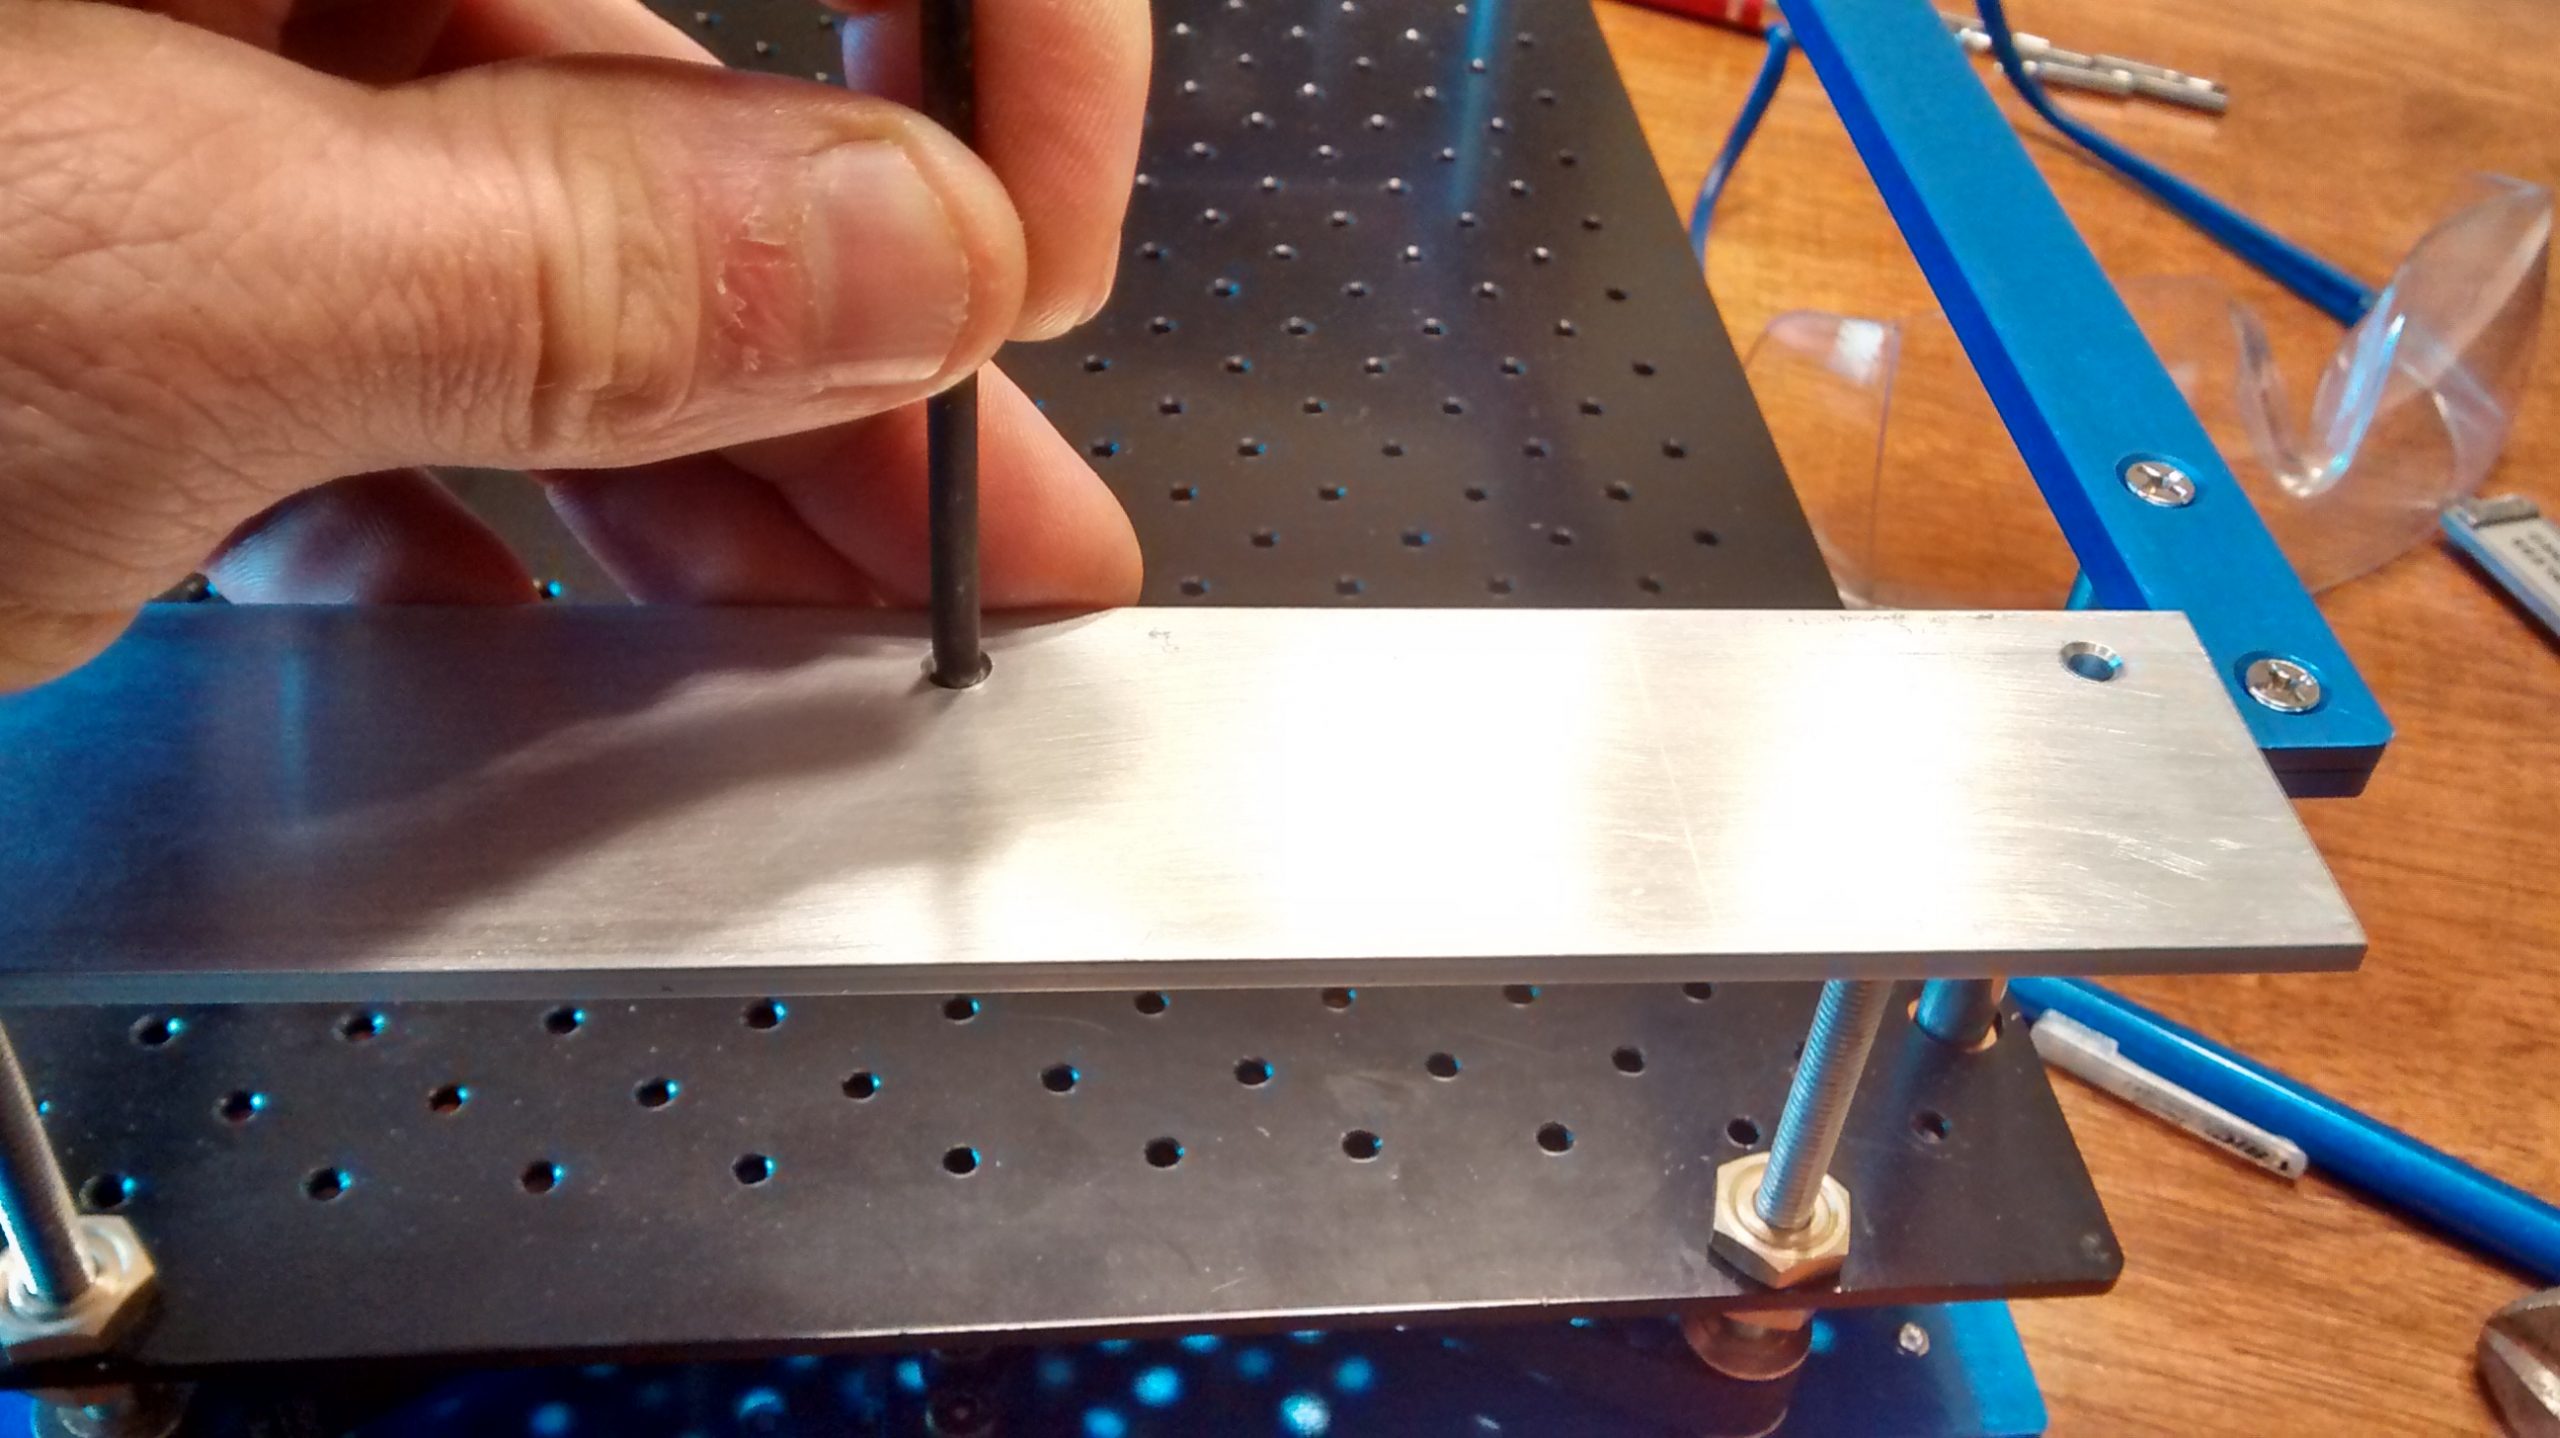
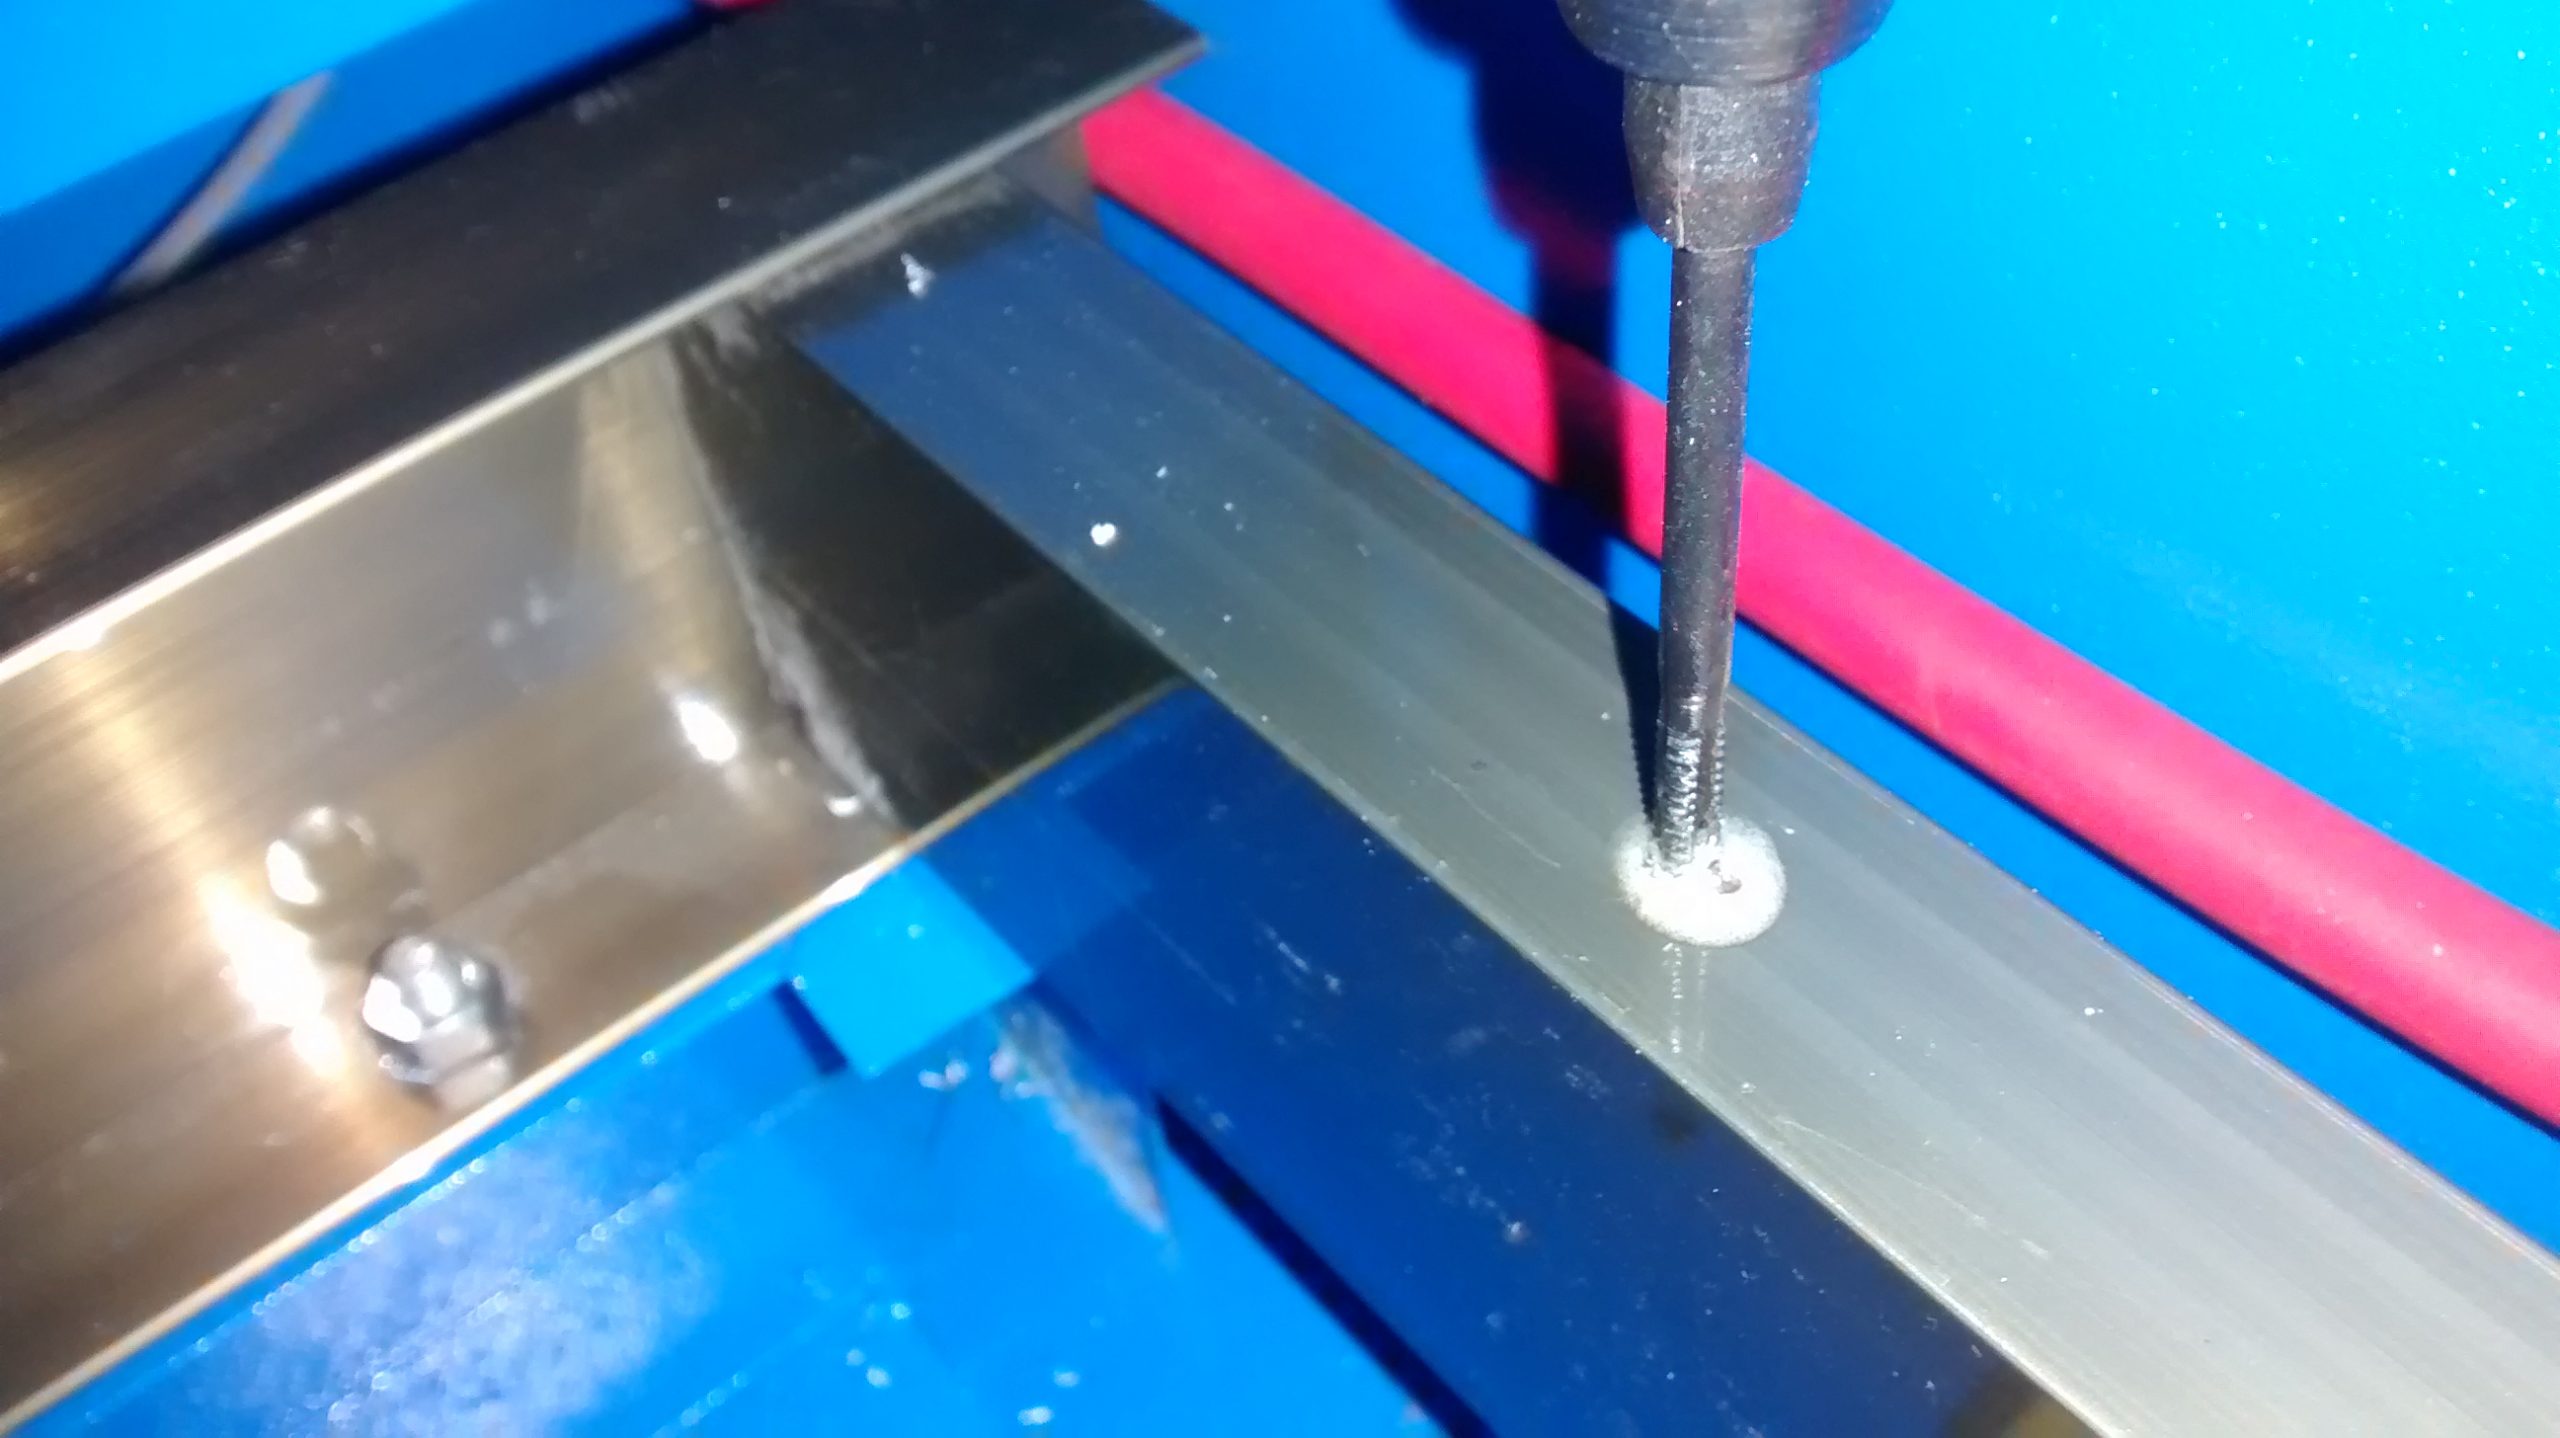
I purchased an 8 gallon plastic tote from Lowe’s that seemed like it would be structurally sound when filled with liquid. Holes where drilled for the power cables and tubing. The plugs of the UV sterilizer and pump needed to be cut off and replaced to feed through the grommets.
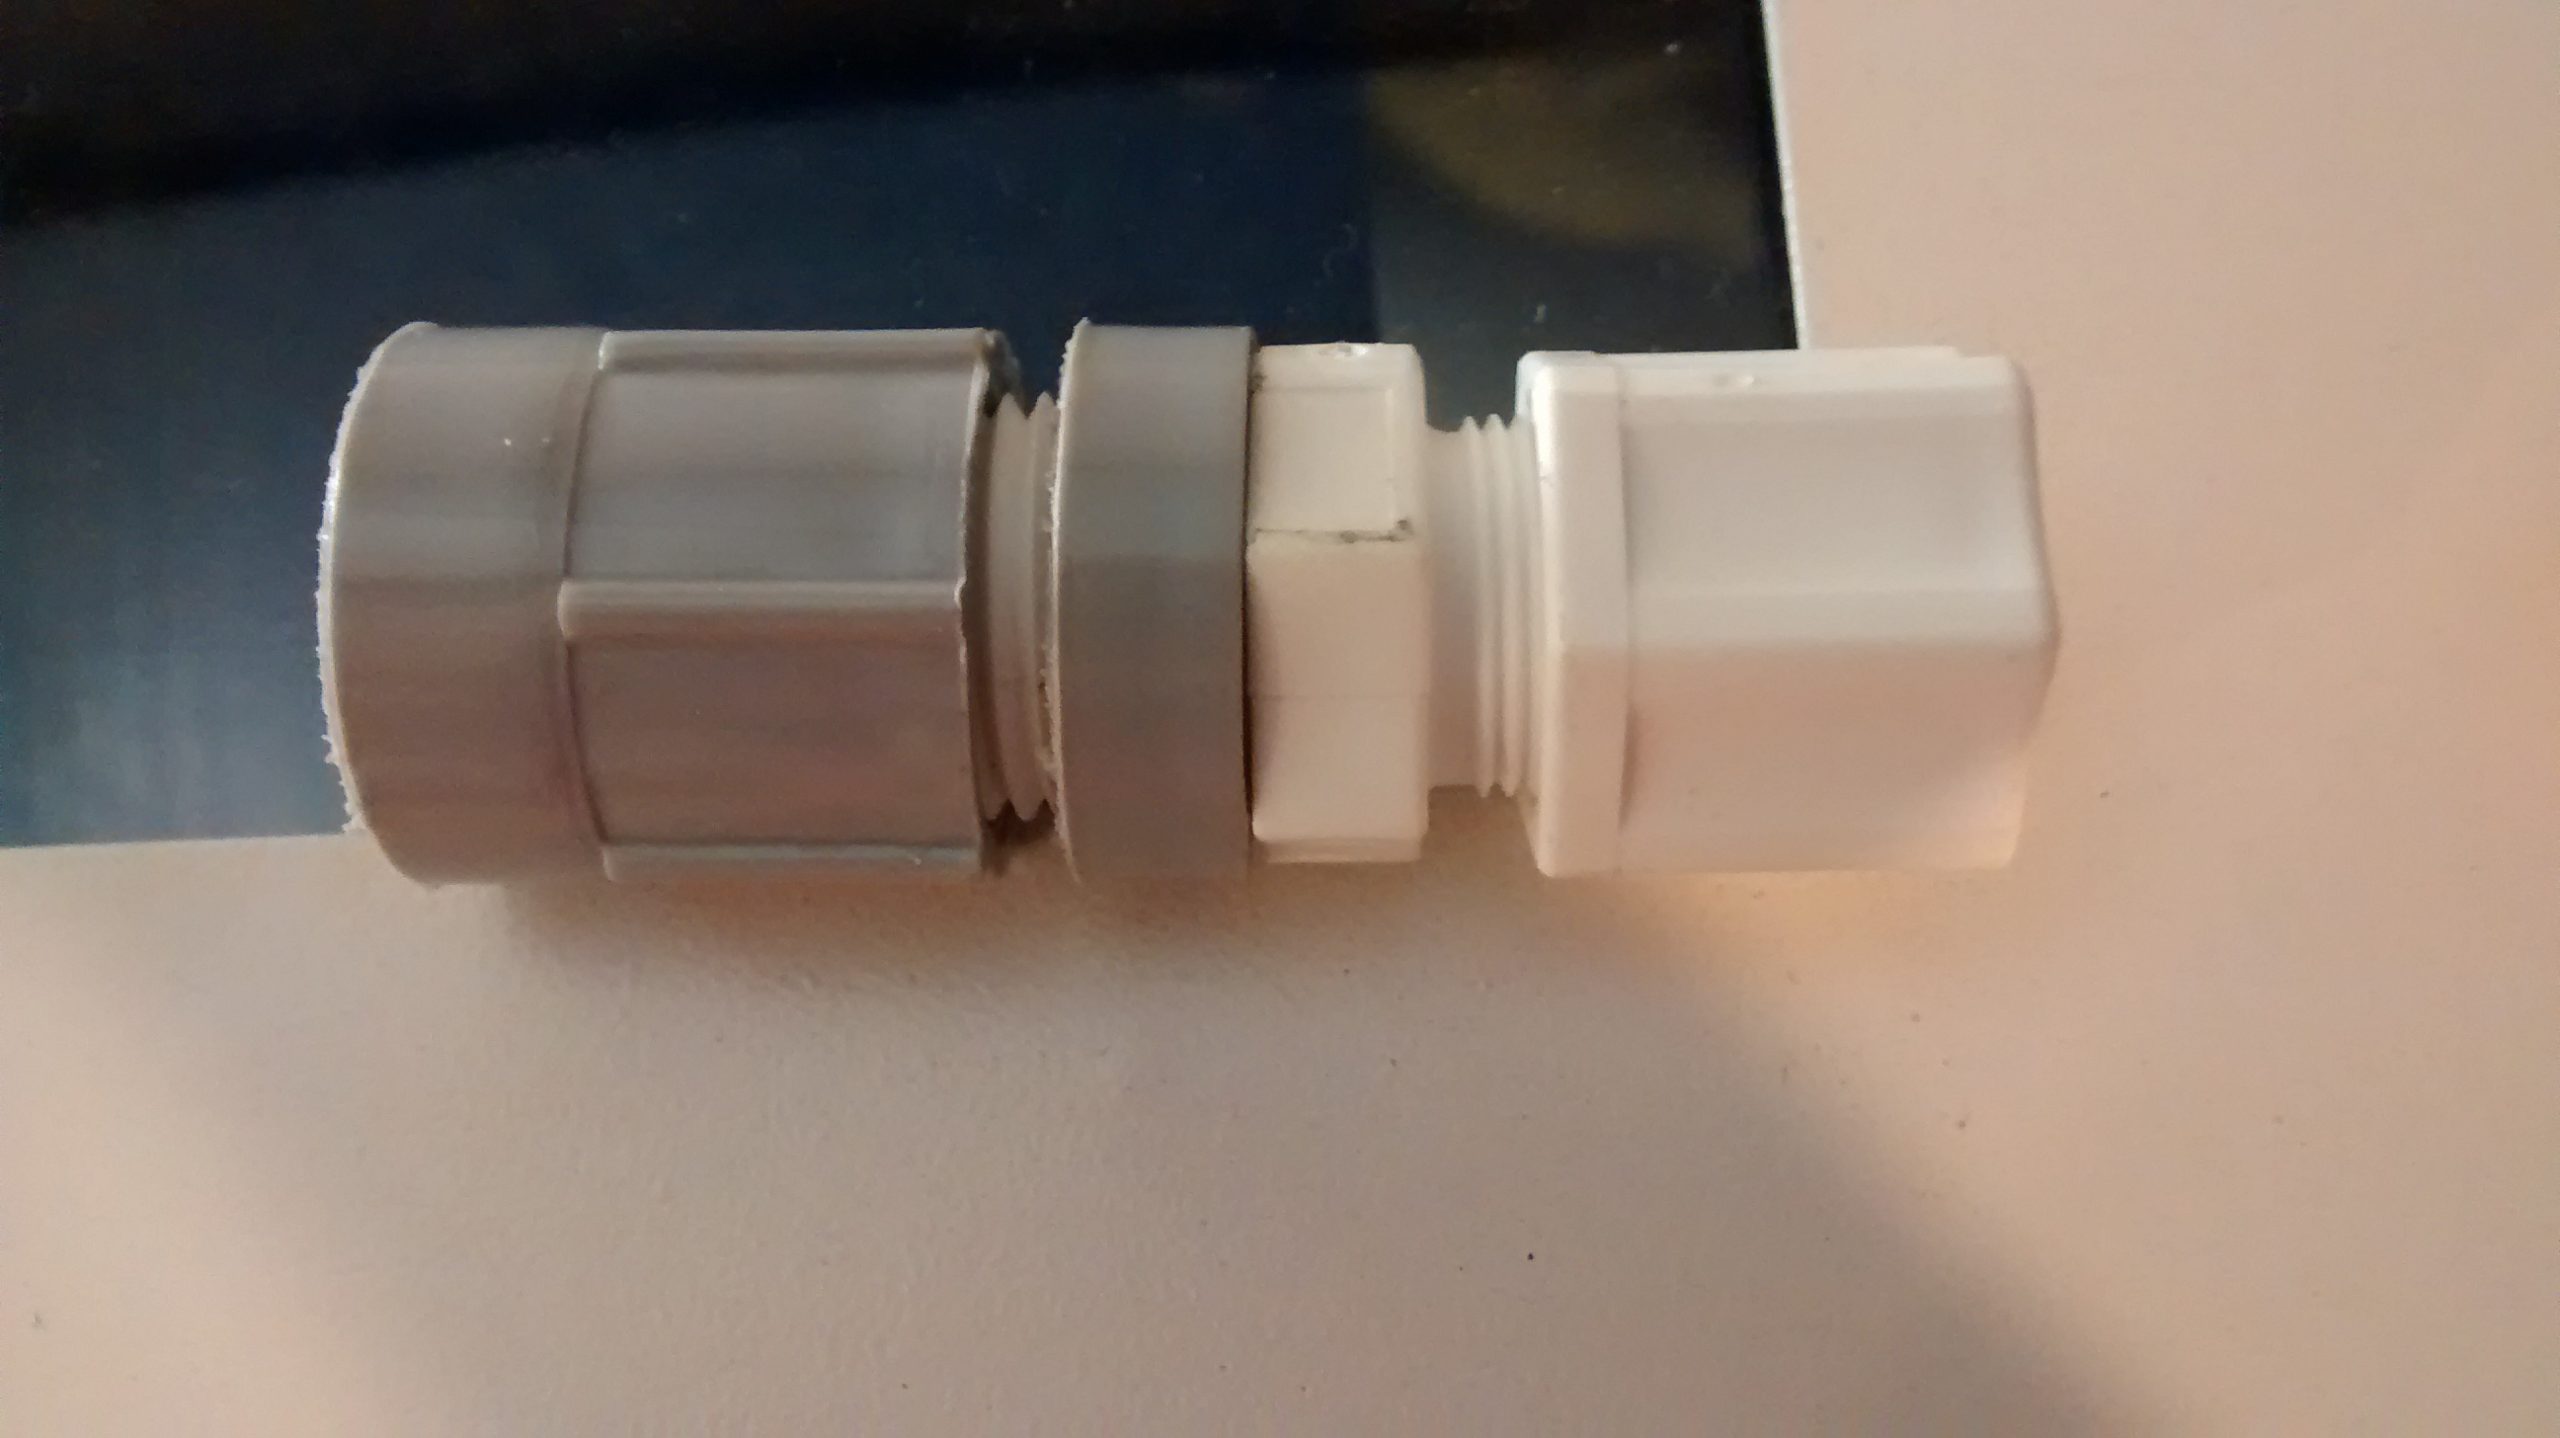
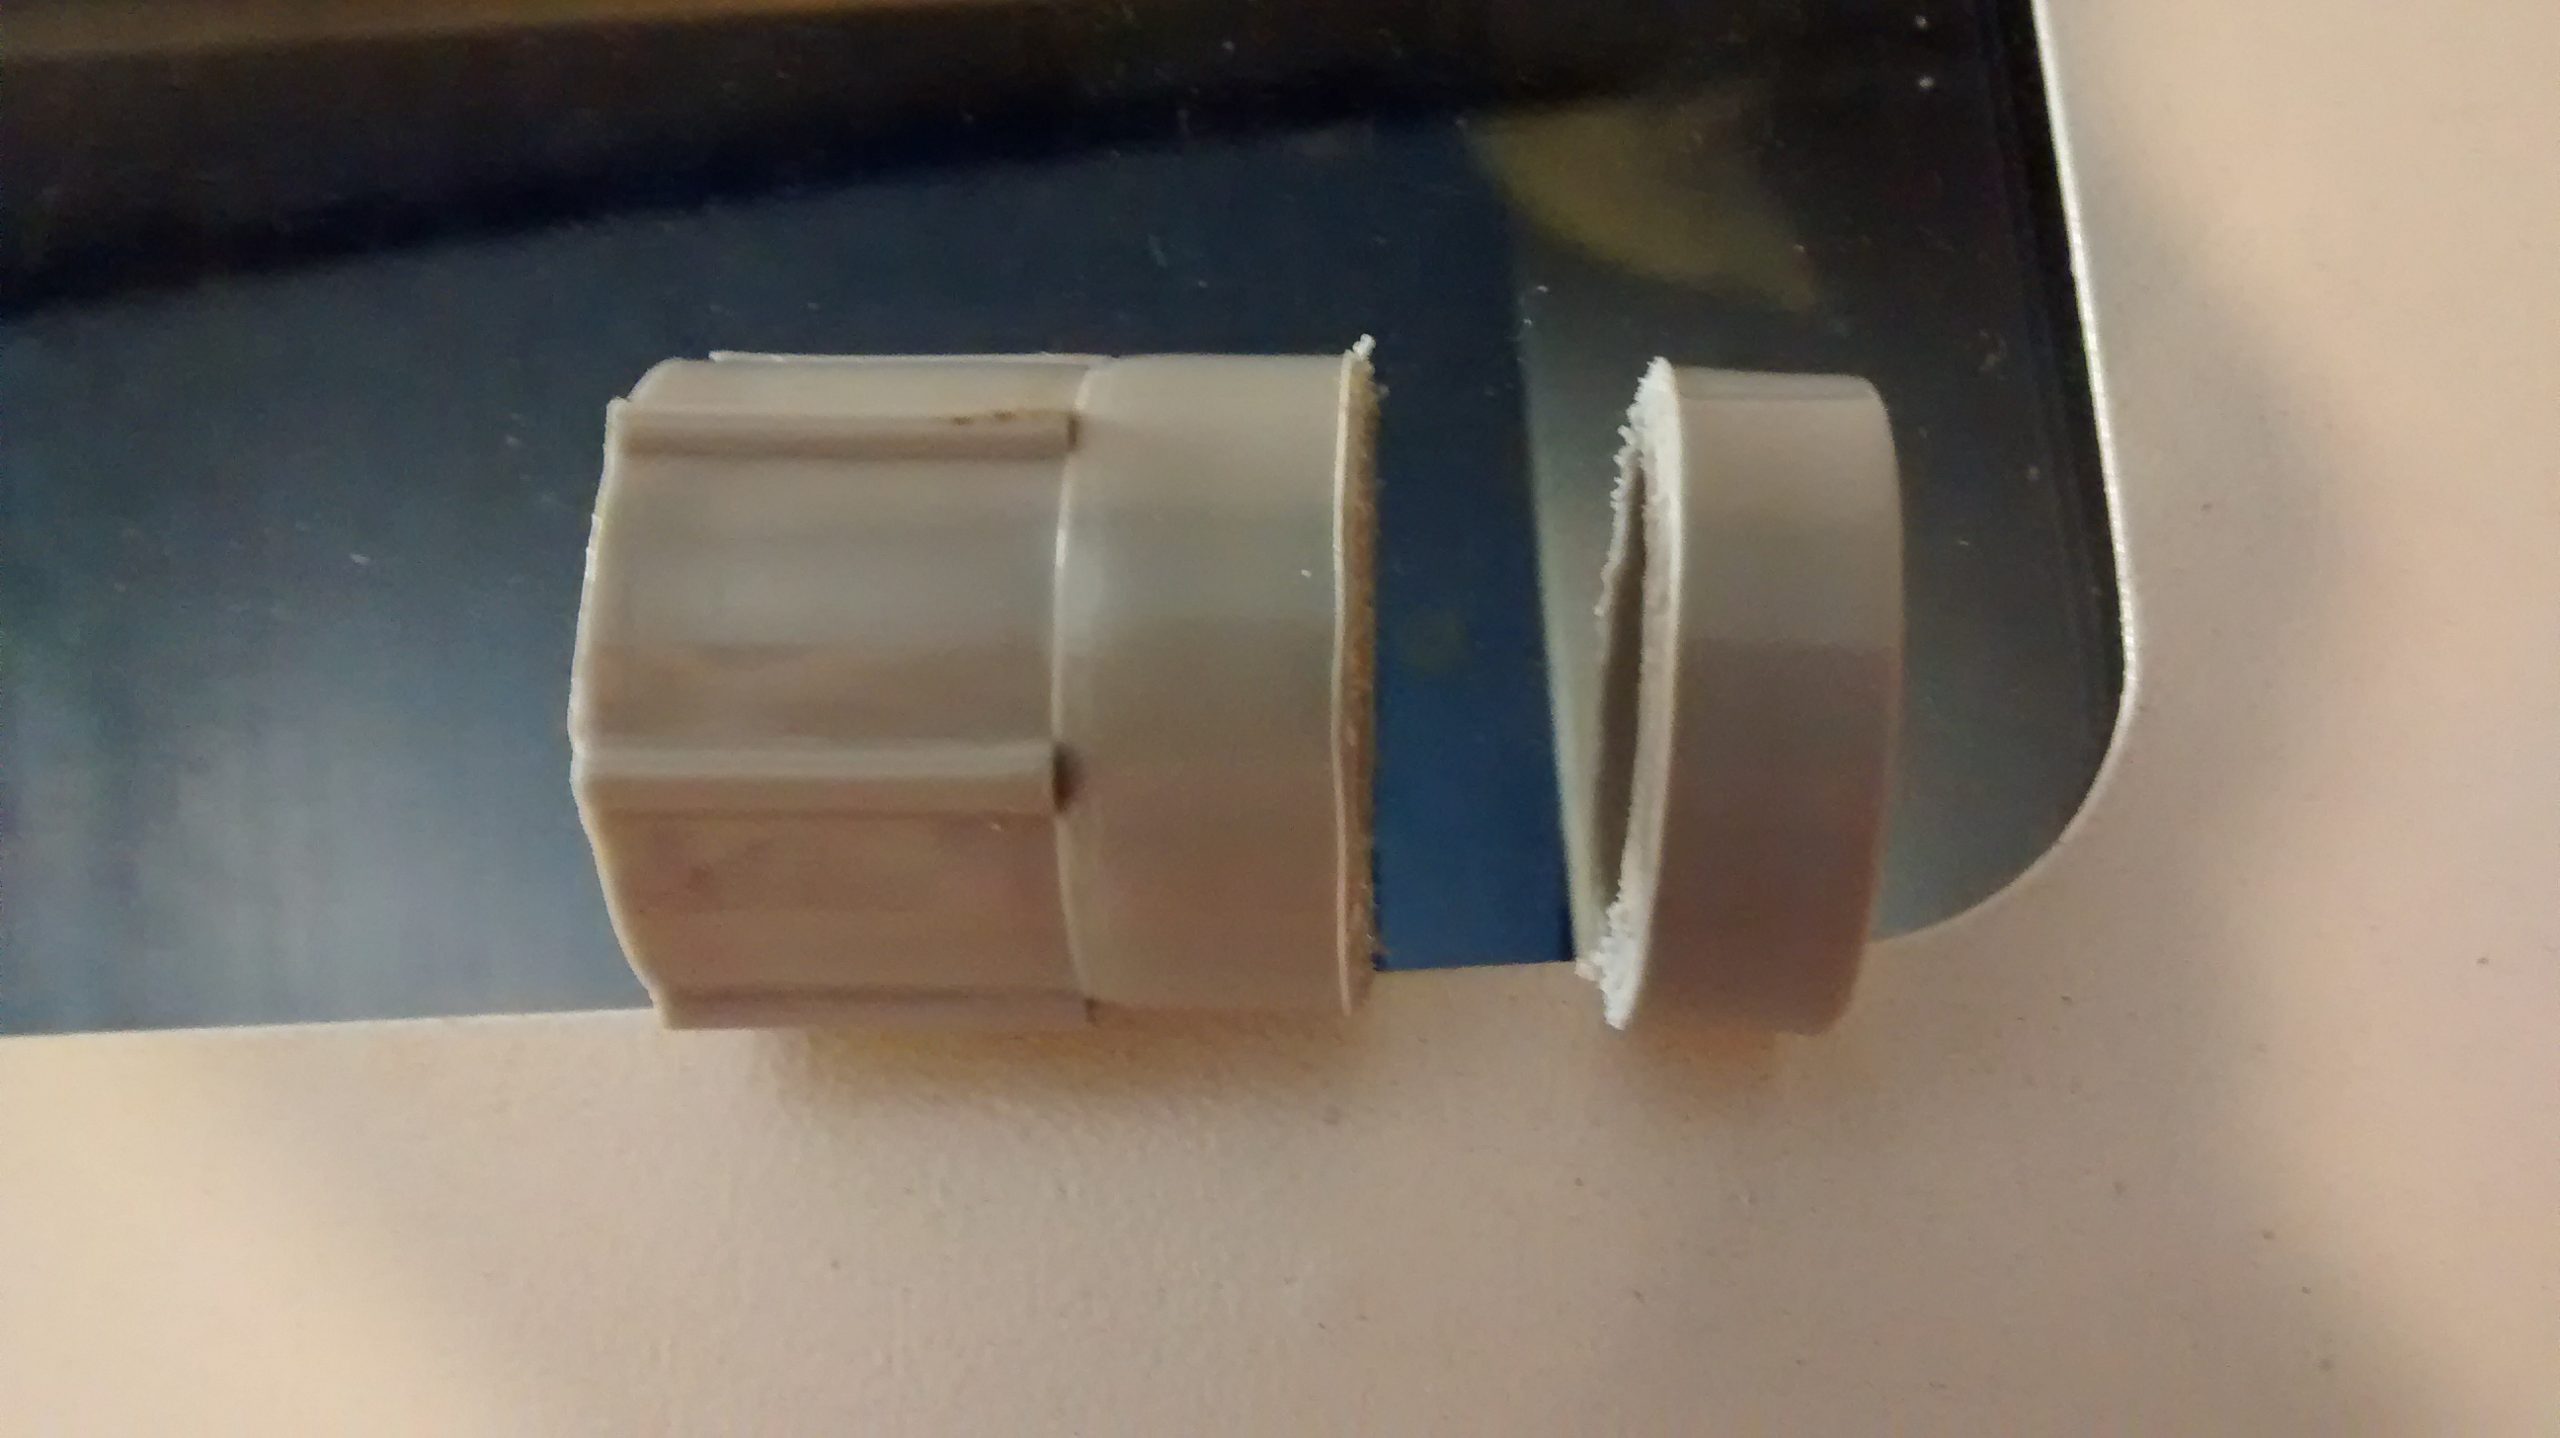
The silicone tubing is clear, so to help cut down on light and growth I ran it through some 1/2″ black polyethylene tubing I had. I put some tubing connectors for the black tubing on the reservoir and made a nut/spacing washer with PVC conduit female adapter to fit the pipe thread.
It runs. We’ll see if it works.
Update: 2019-12-01
Water is still clear, I haven not had to change it yet.


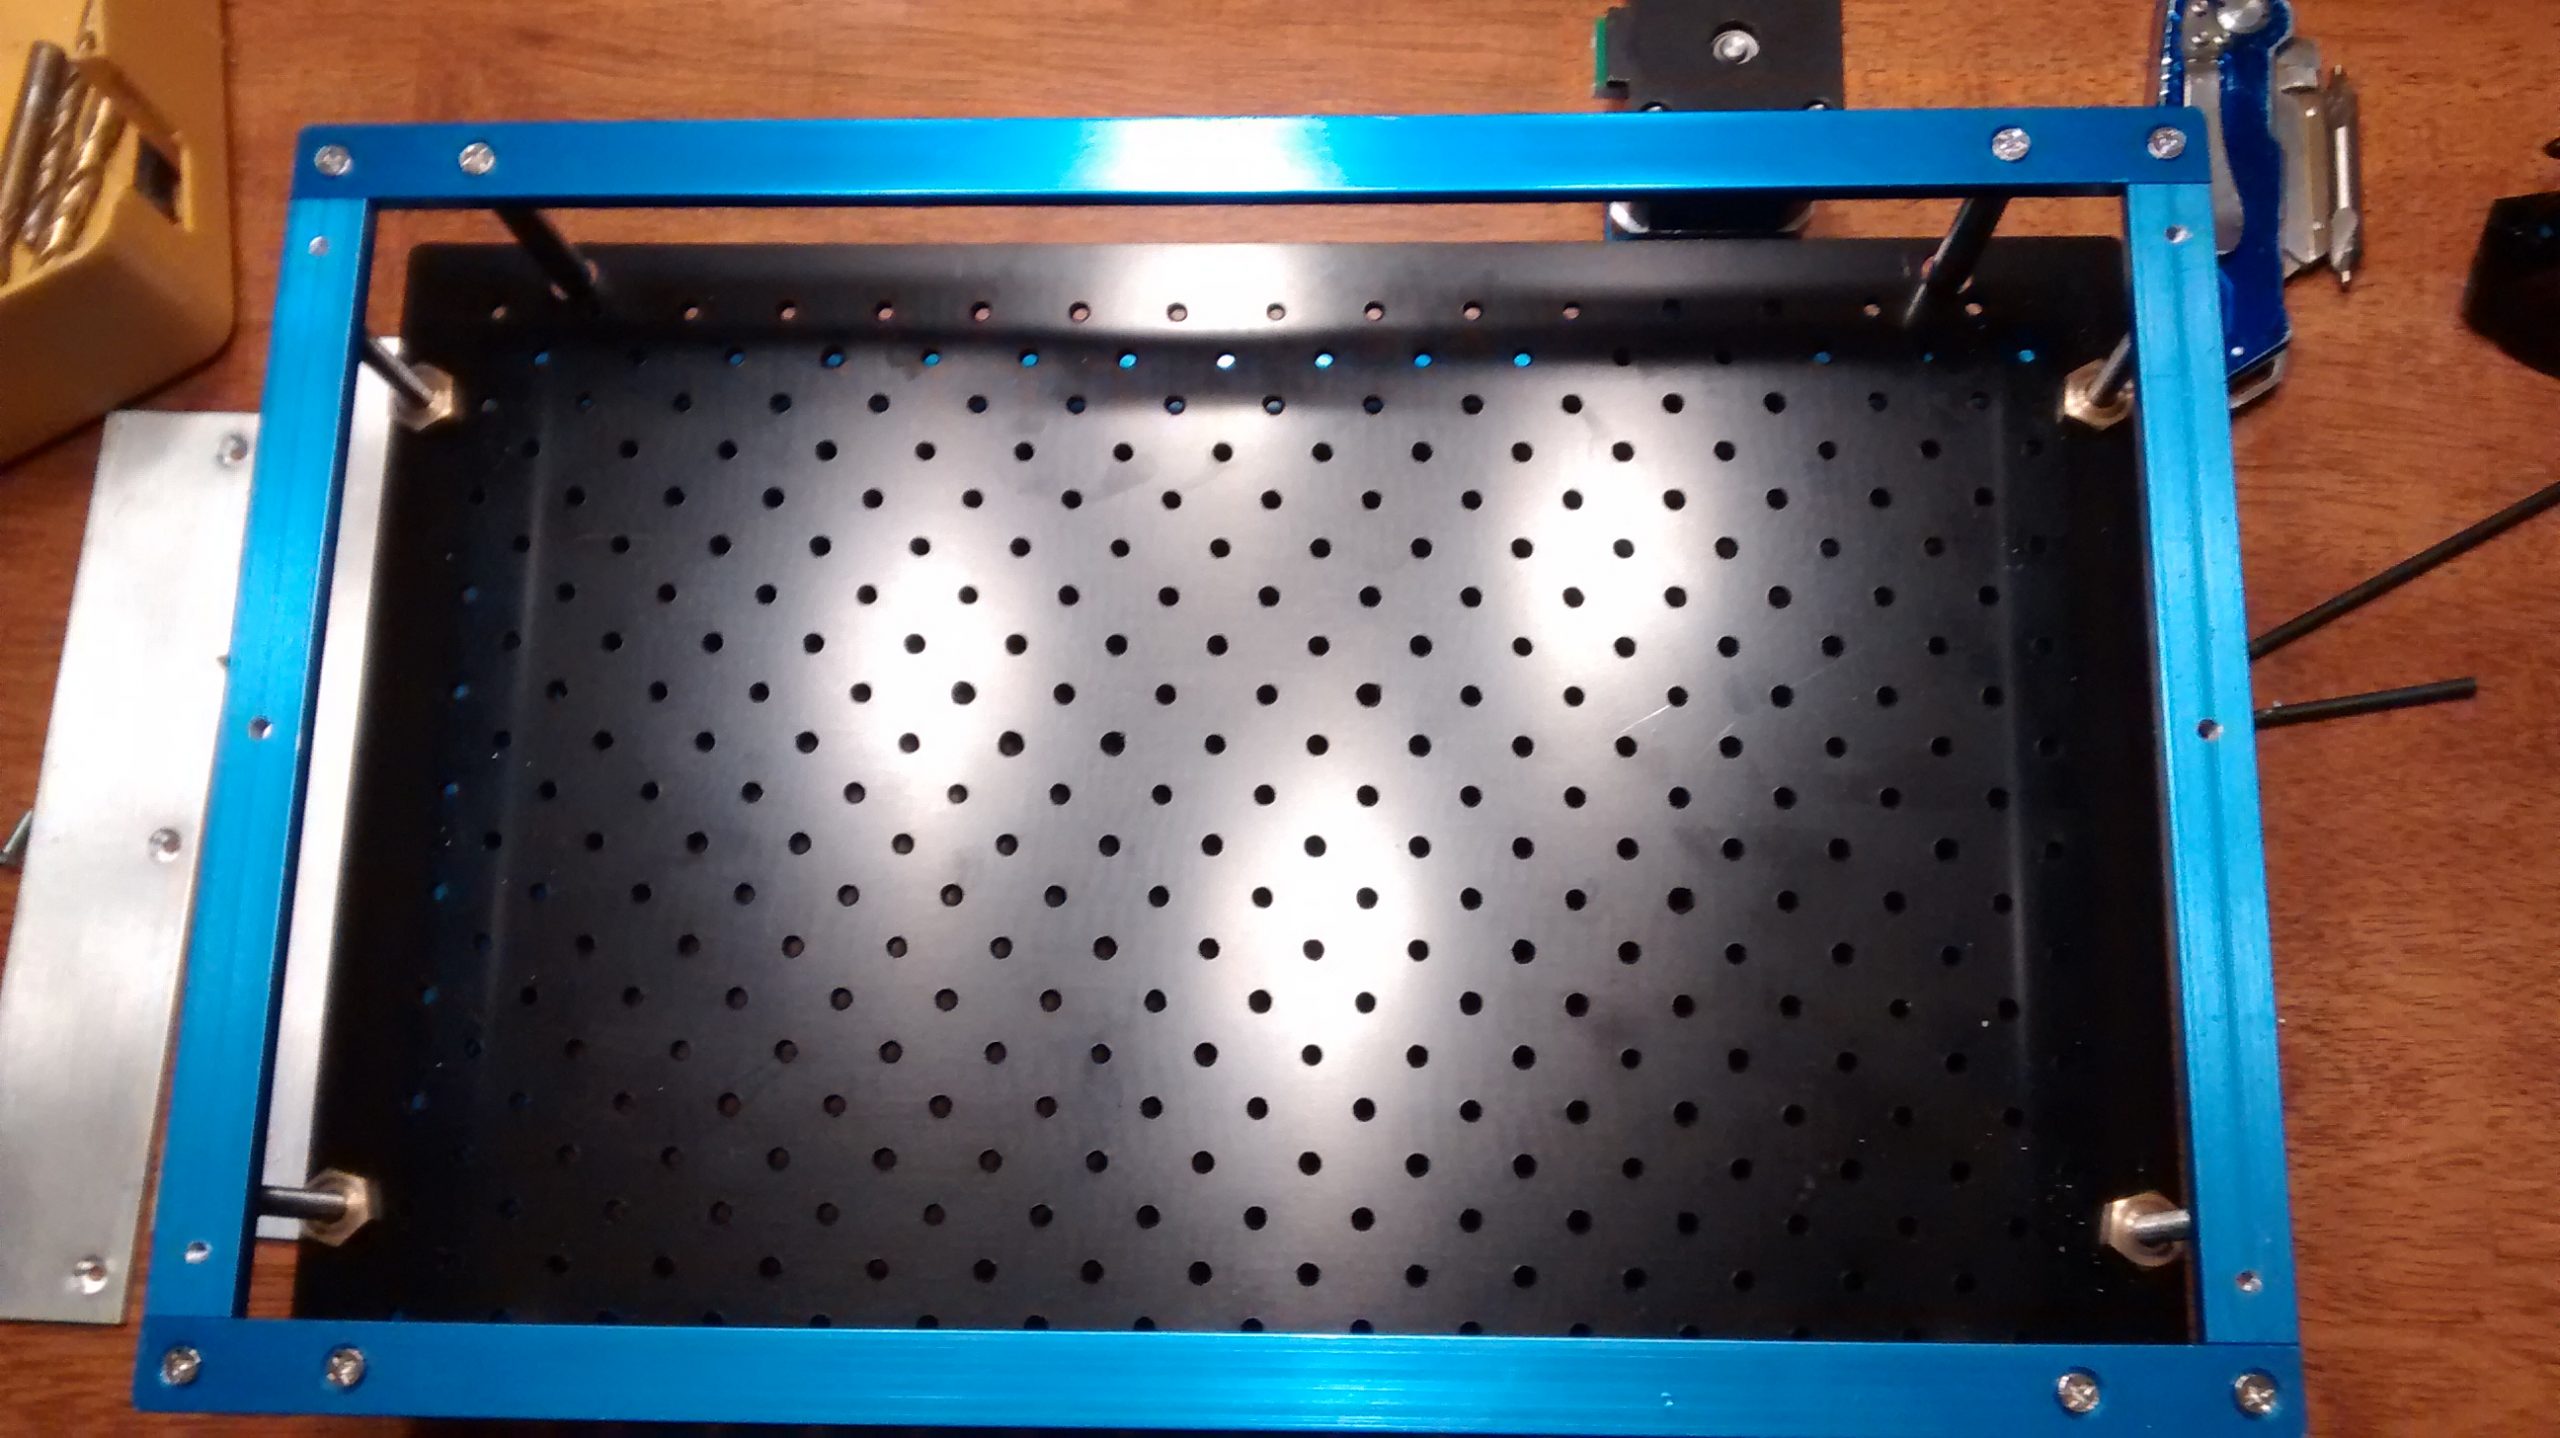
 The Z table arrived a few days ago and I got a chance to install it thanks to the Holiday. It was pretty straight forward, but I do need to remake the air assist because the frame interferes and the gantry can not reach the home position.
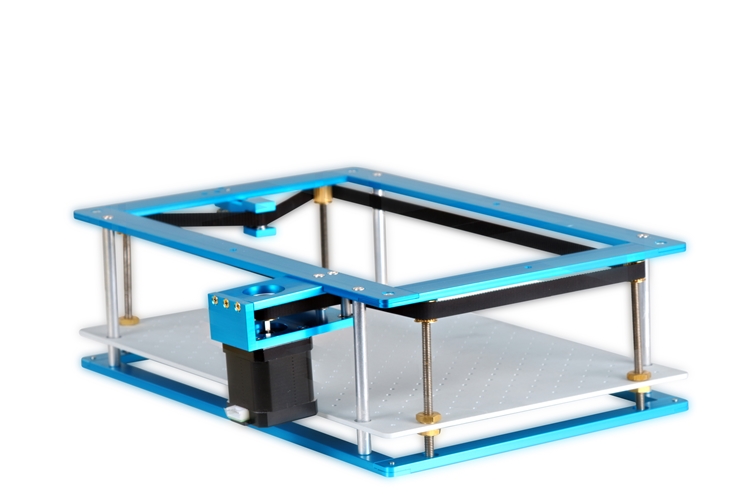