Categories
Projects

Christmas Gifts

Samantha and I are very deliberate with our budget; it allowed us to pay off our debt including our house. You can only be so strict before it wears you out, though. So part of our budget is “blow money”. We each get money to spend on whatever we wish, no questions asked. (though legal and ethical limitations probably still apply)

We also try to be deliberate with gifts and avoid blatant consumerism. We both became annoyed at family gatherings that just seemed to be an exchange of gift cards. Generosity is also supposed to be part of our ethos, so that along with our frugality lead us to find a replacement. We’ve settled to trying to substitute the plastic stuff and gift cards with quality time (a nice dinner together) or homemade gifts (but ones that take effort, skill and time).

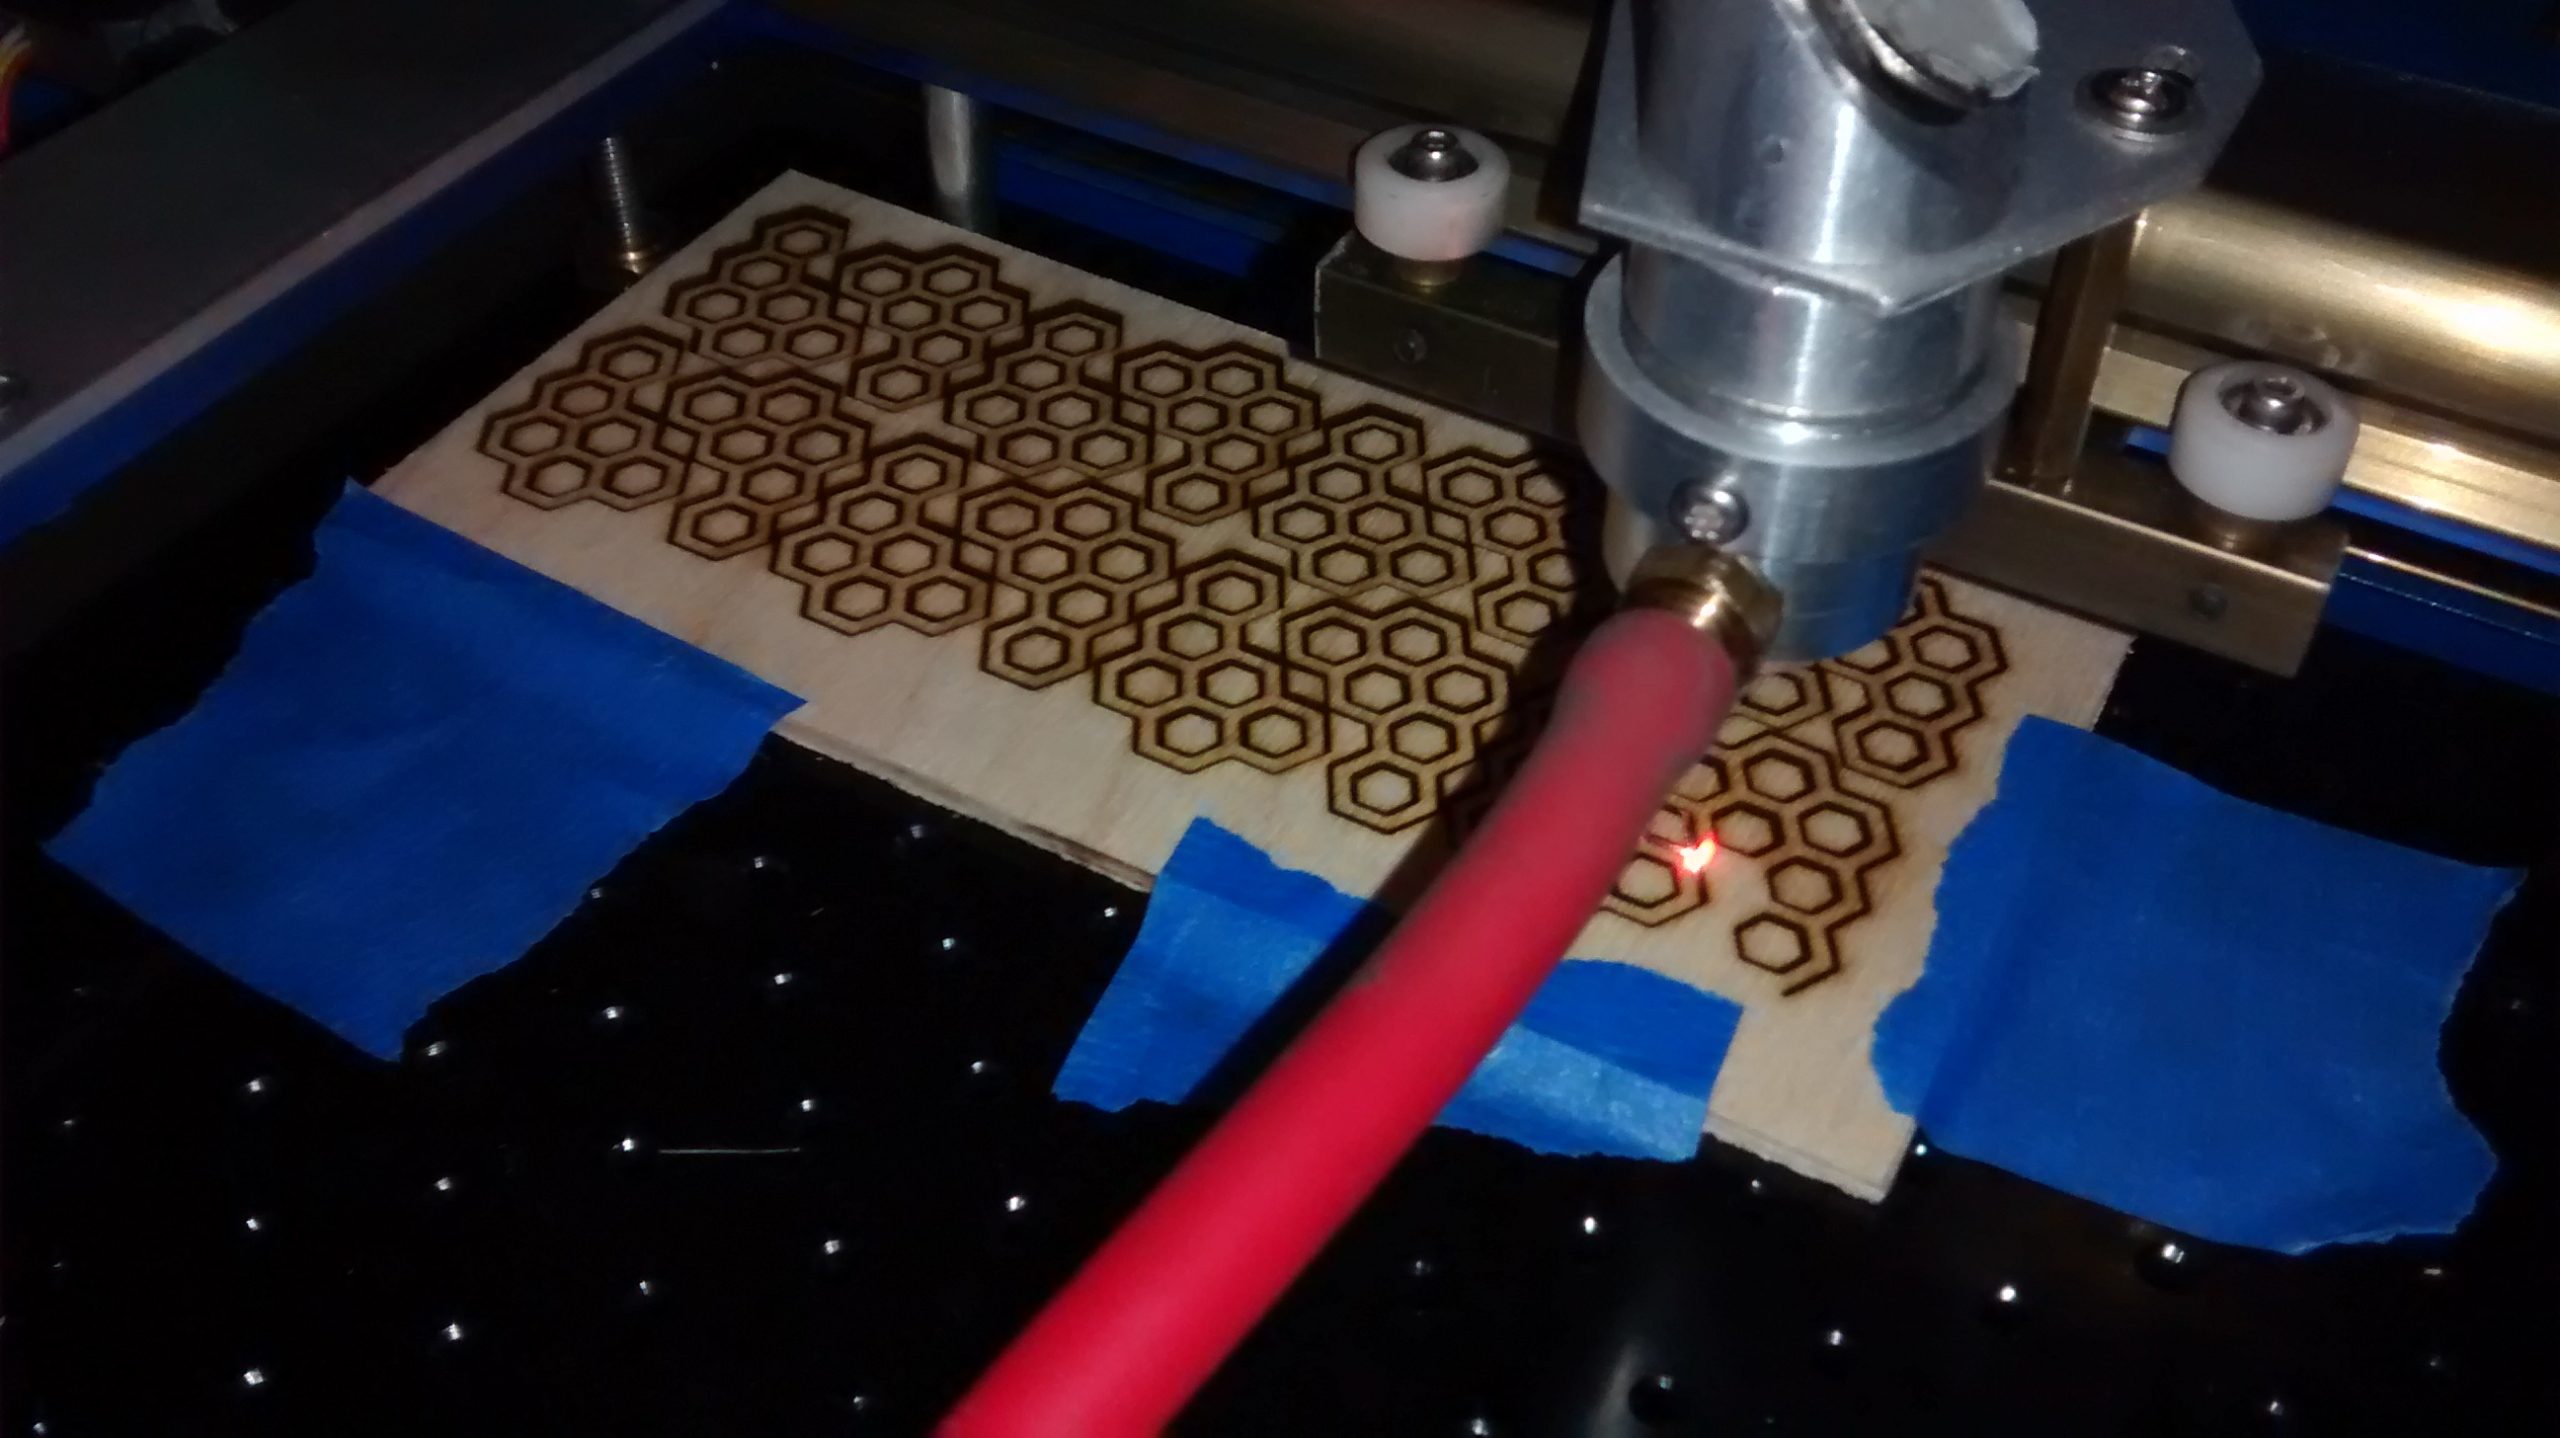
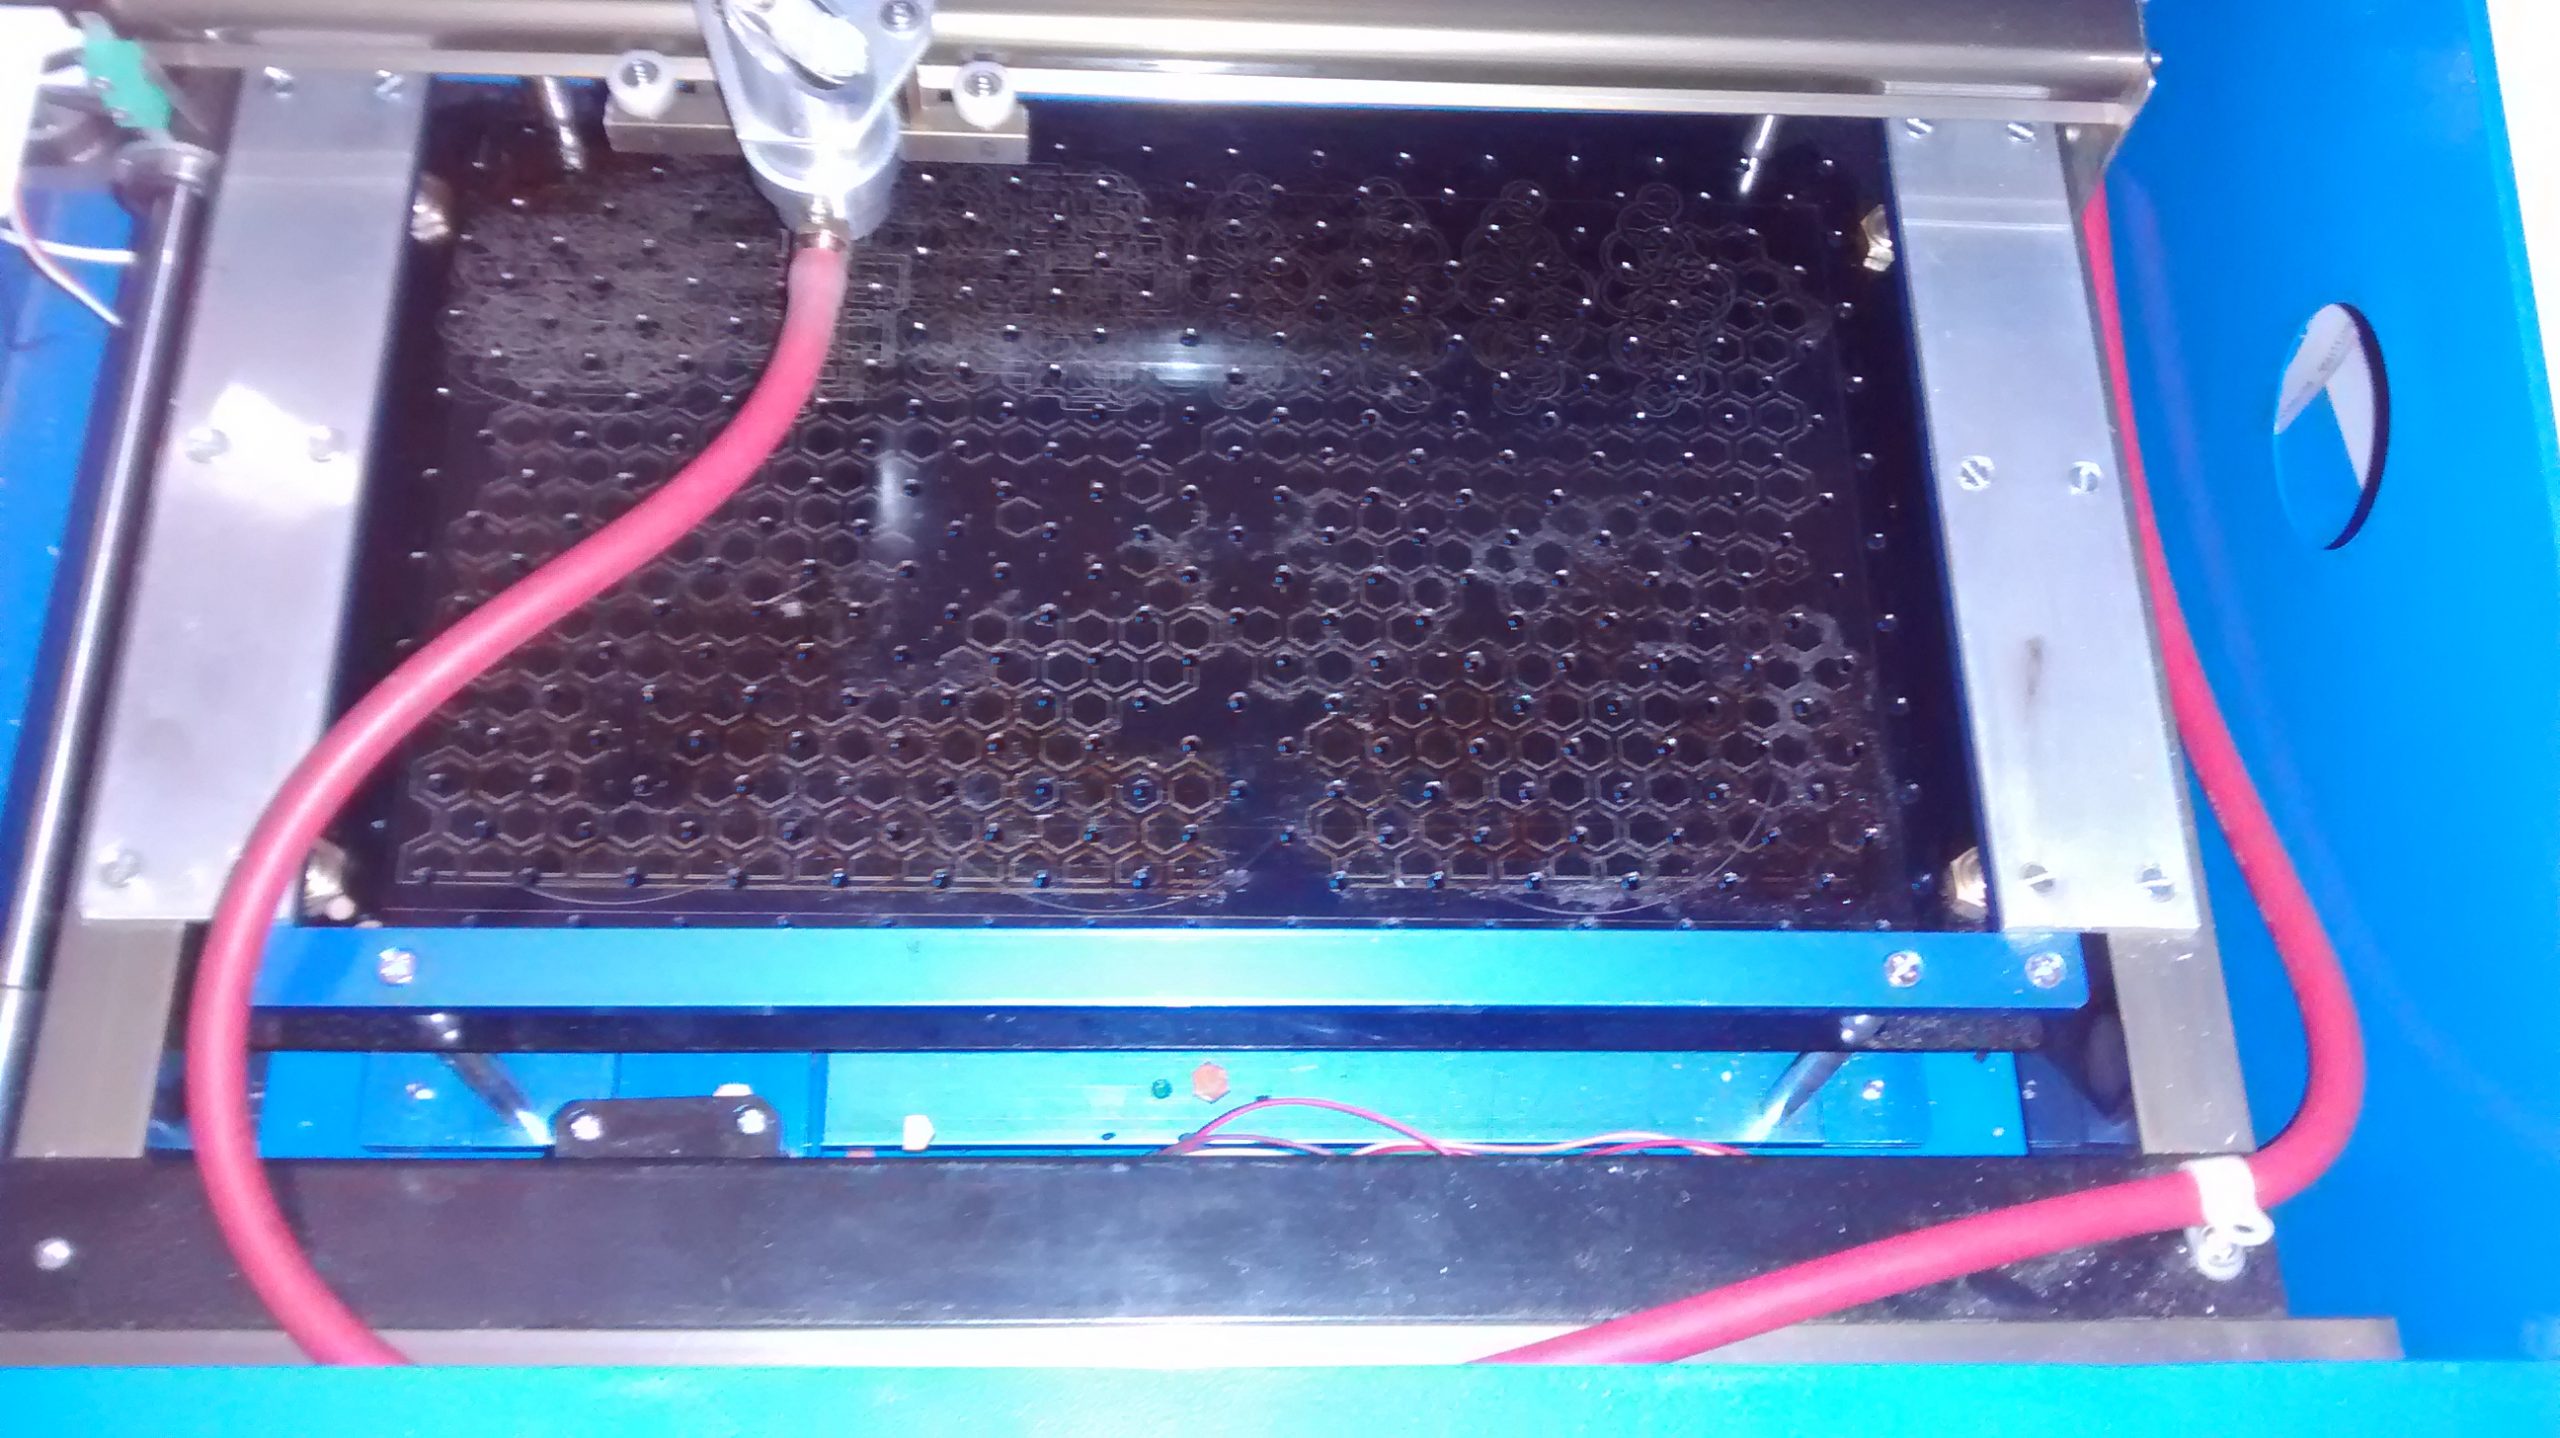
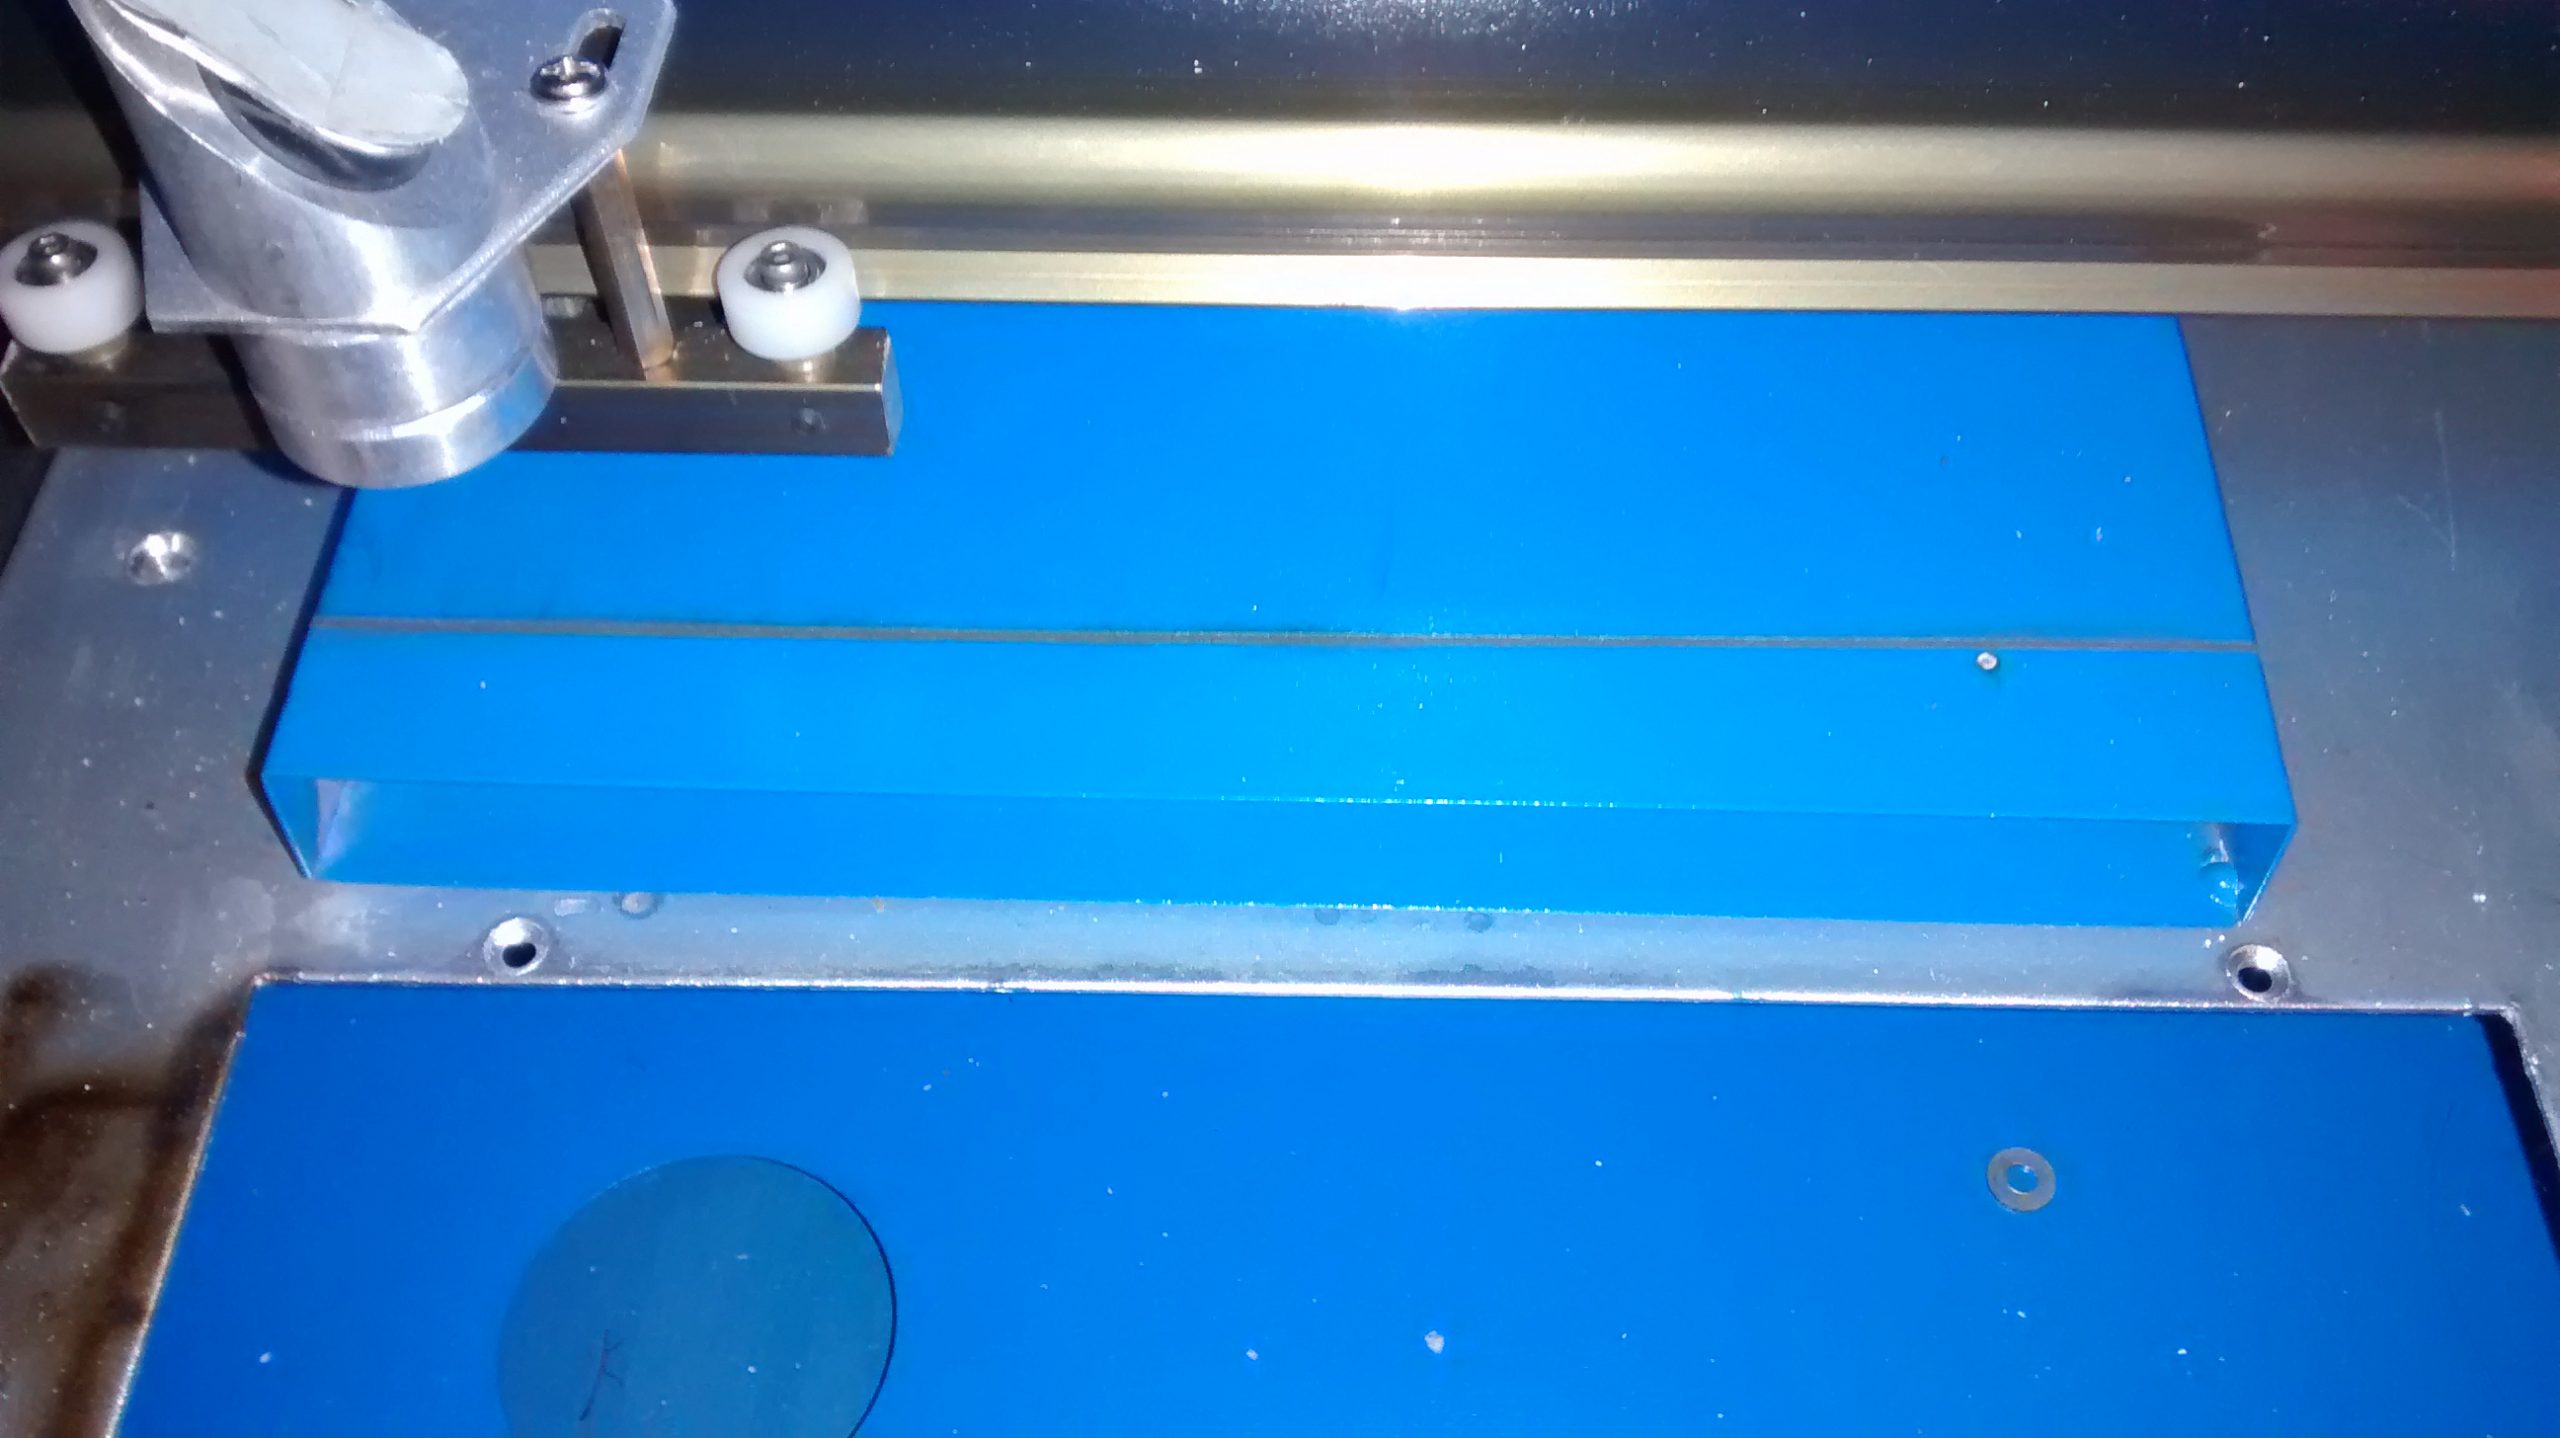
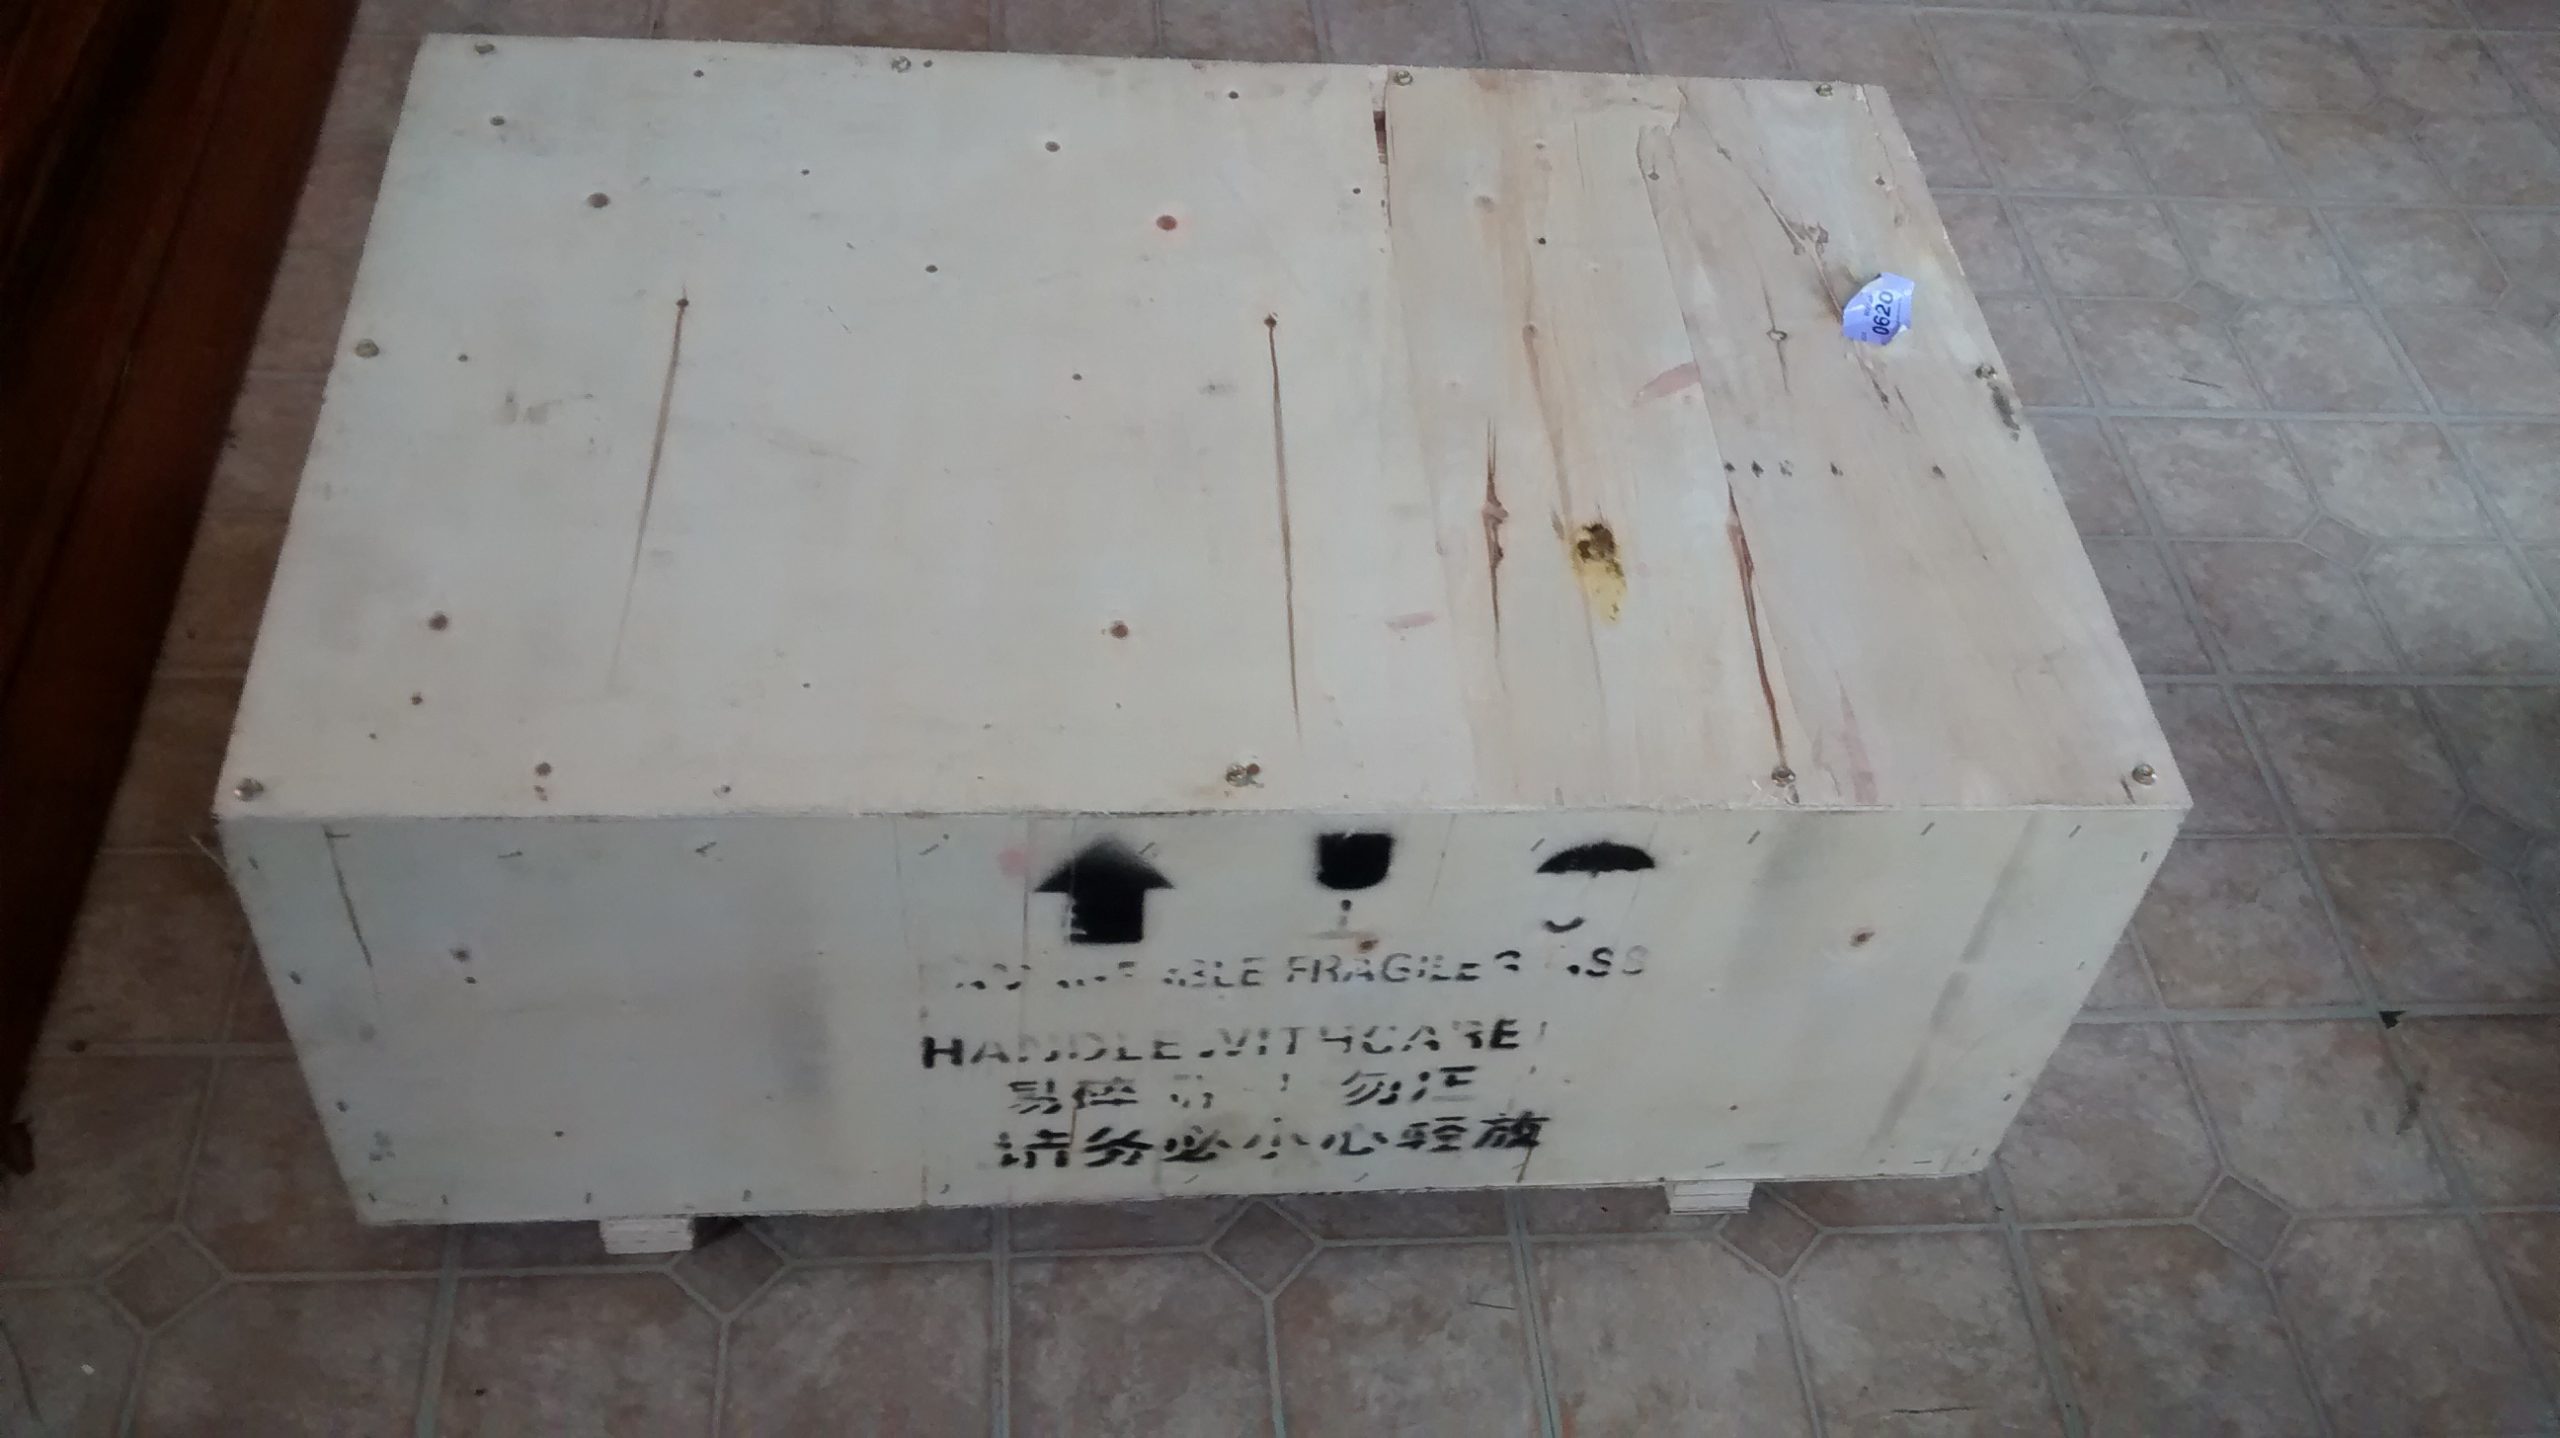
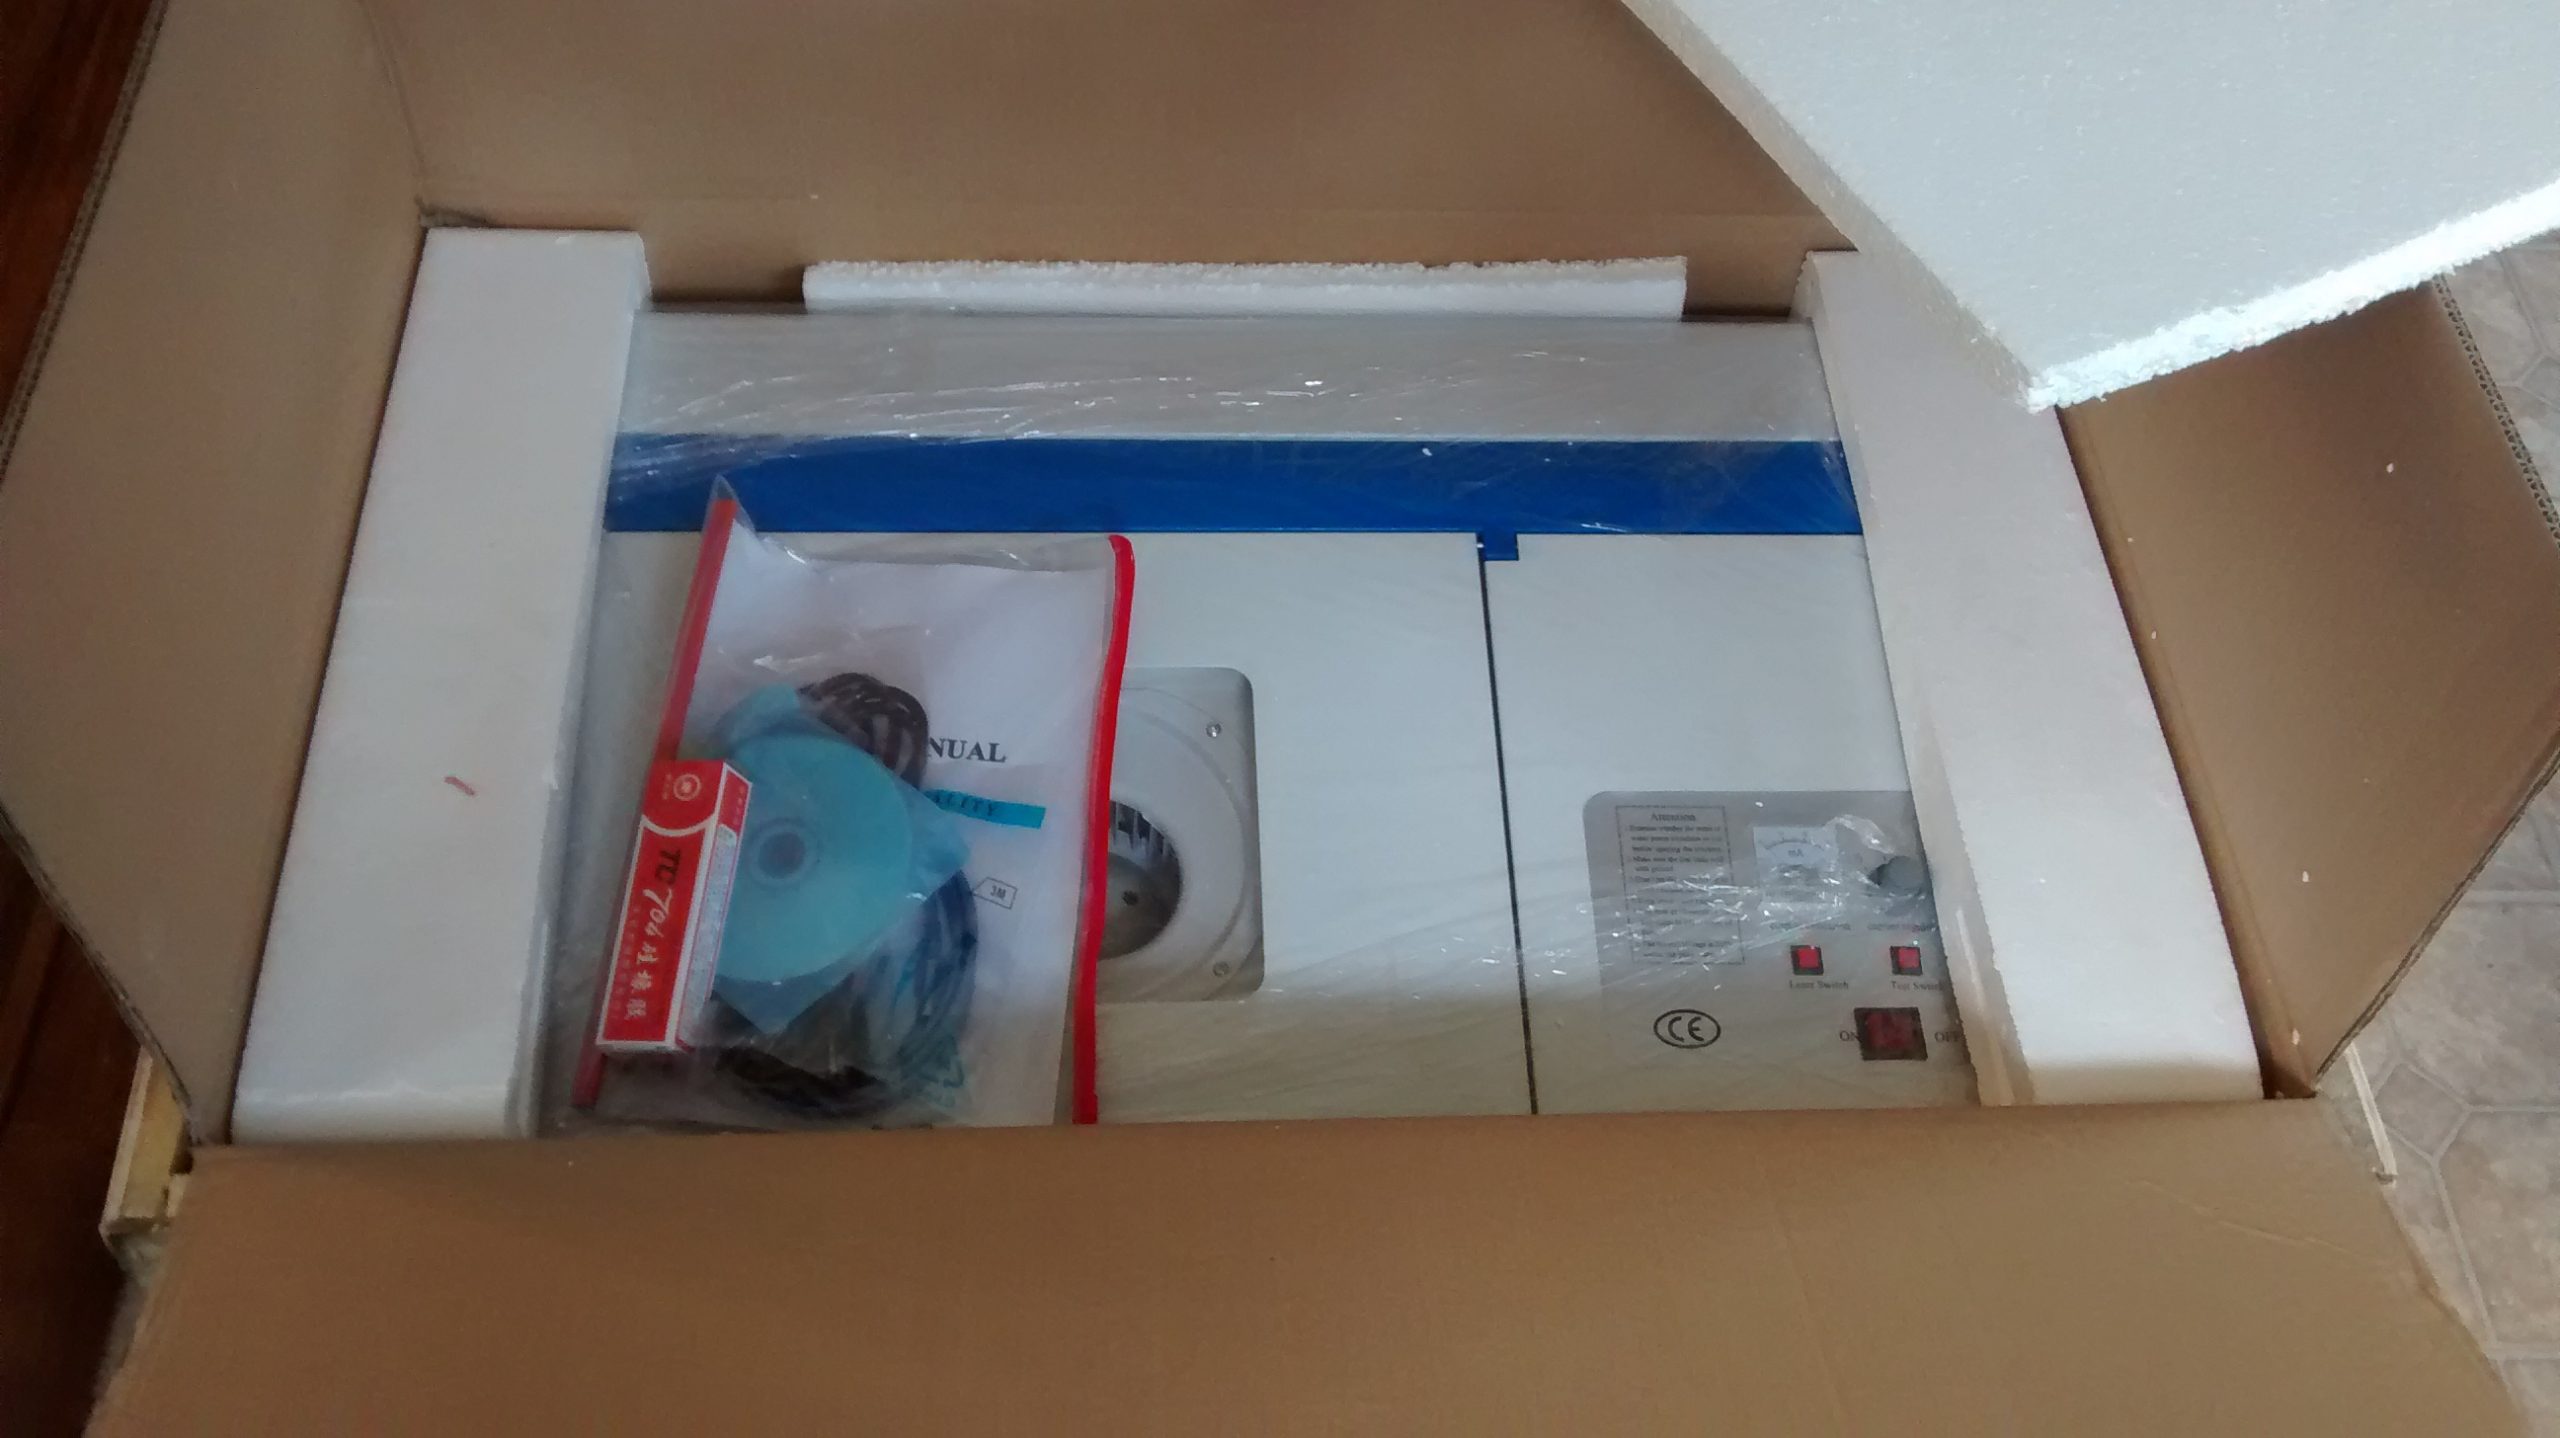
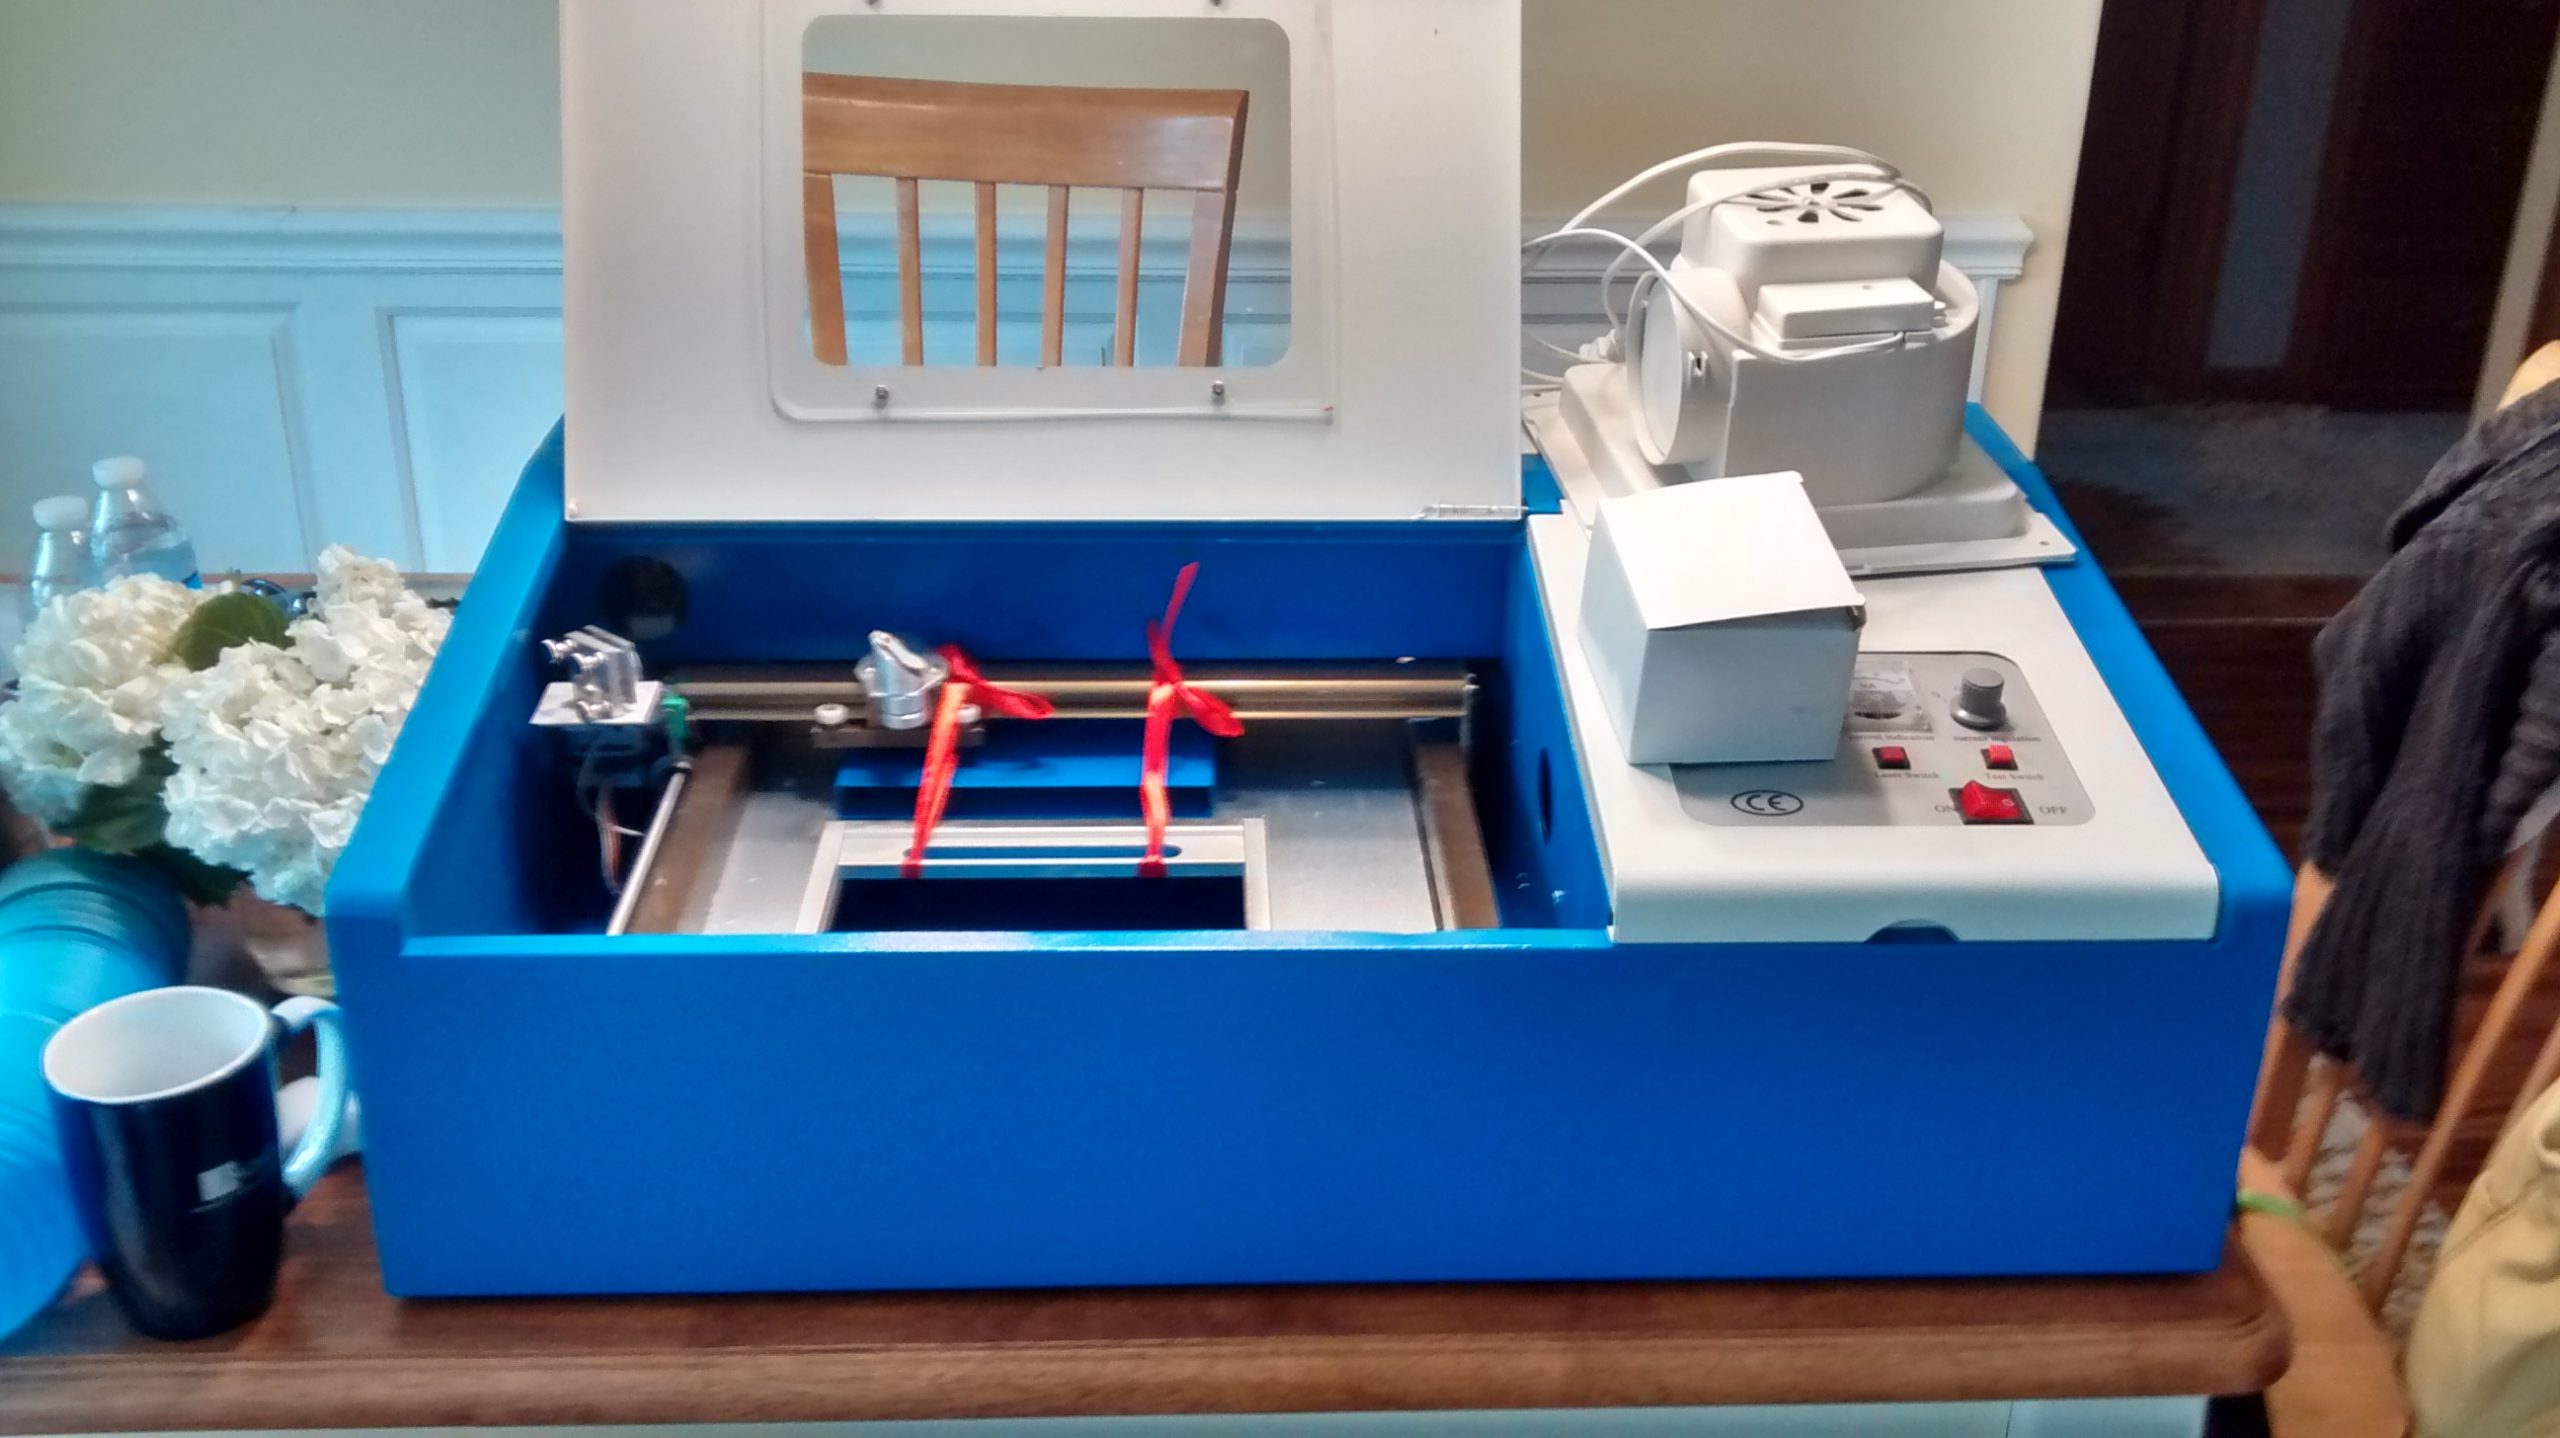
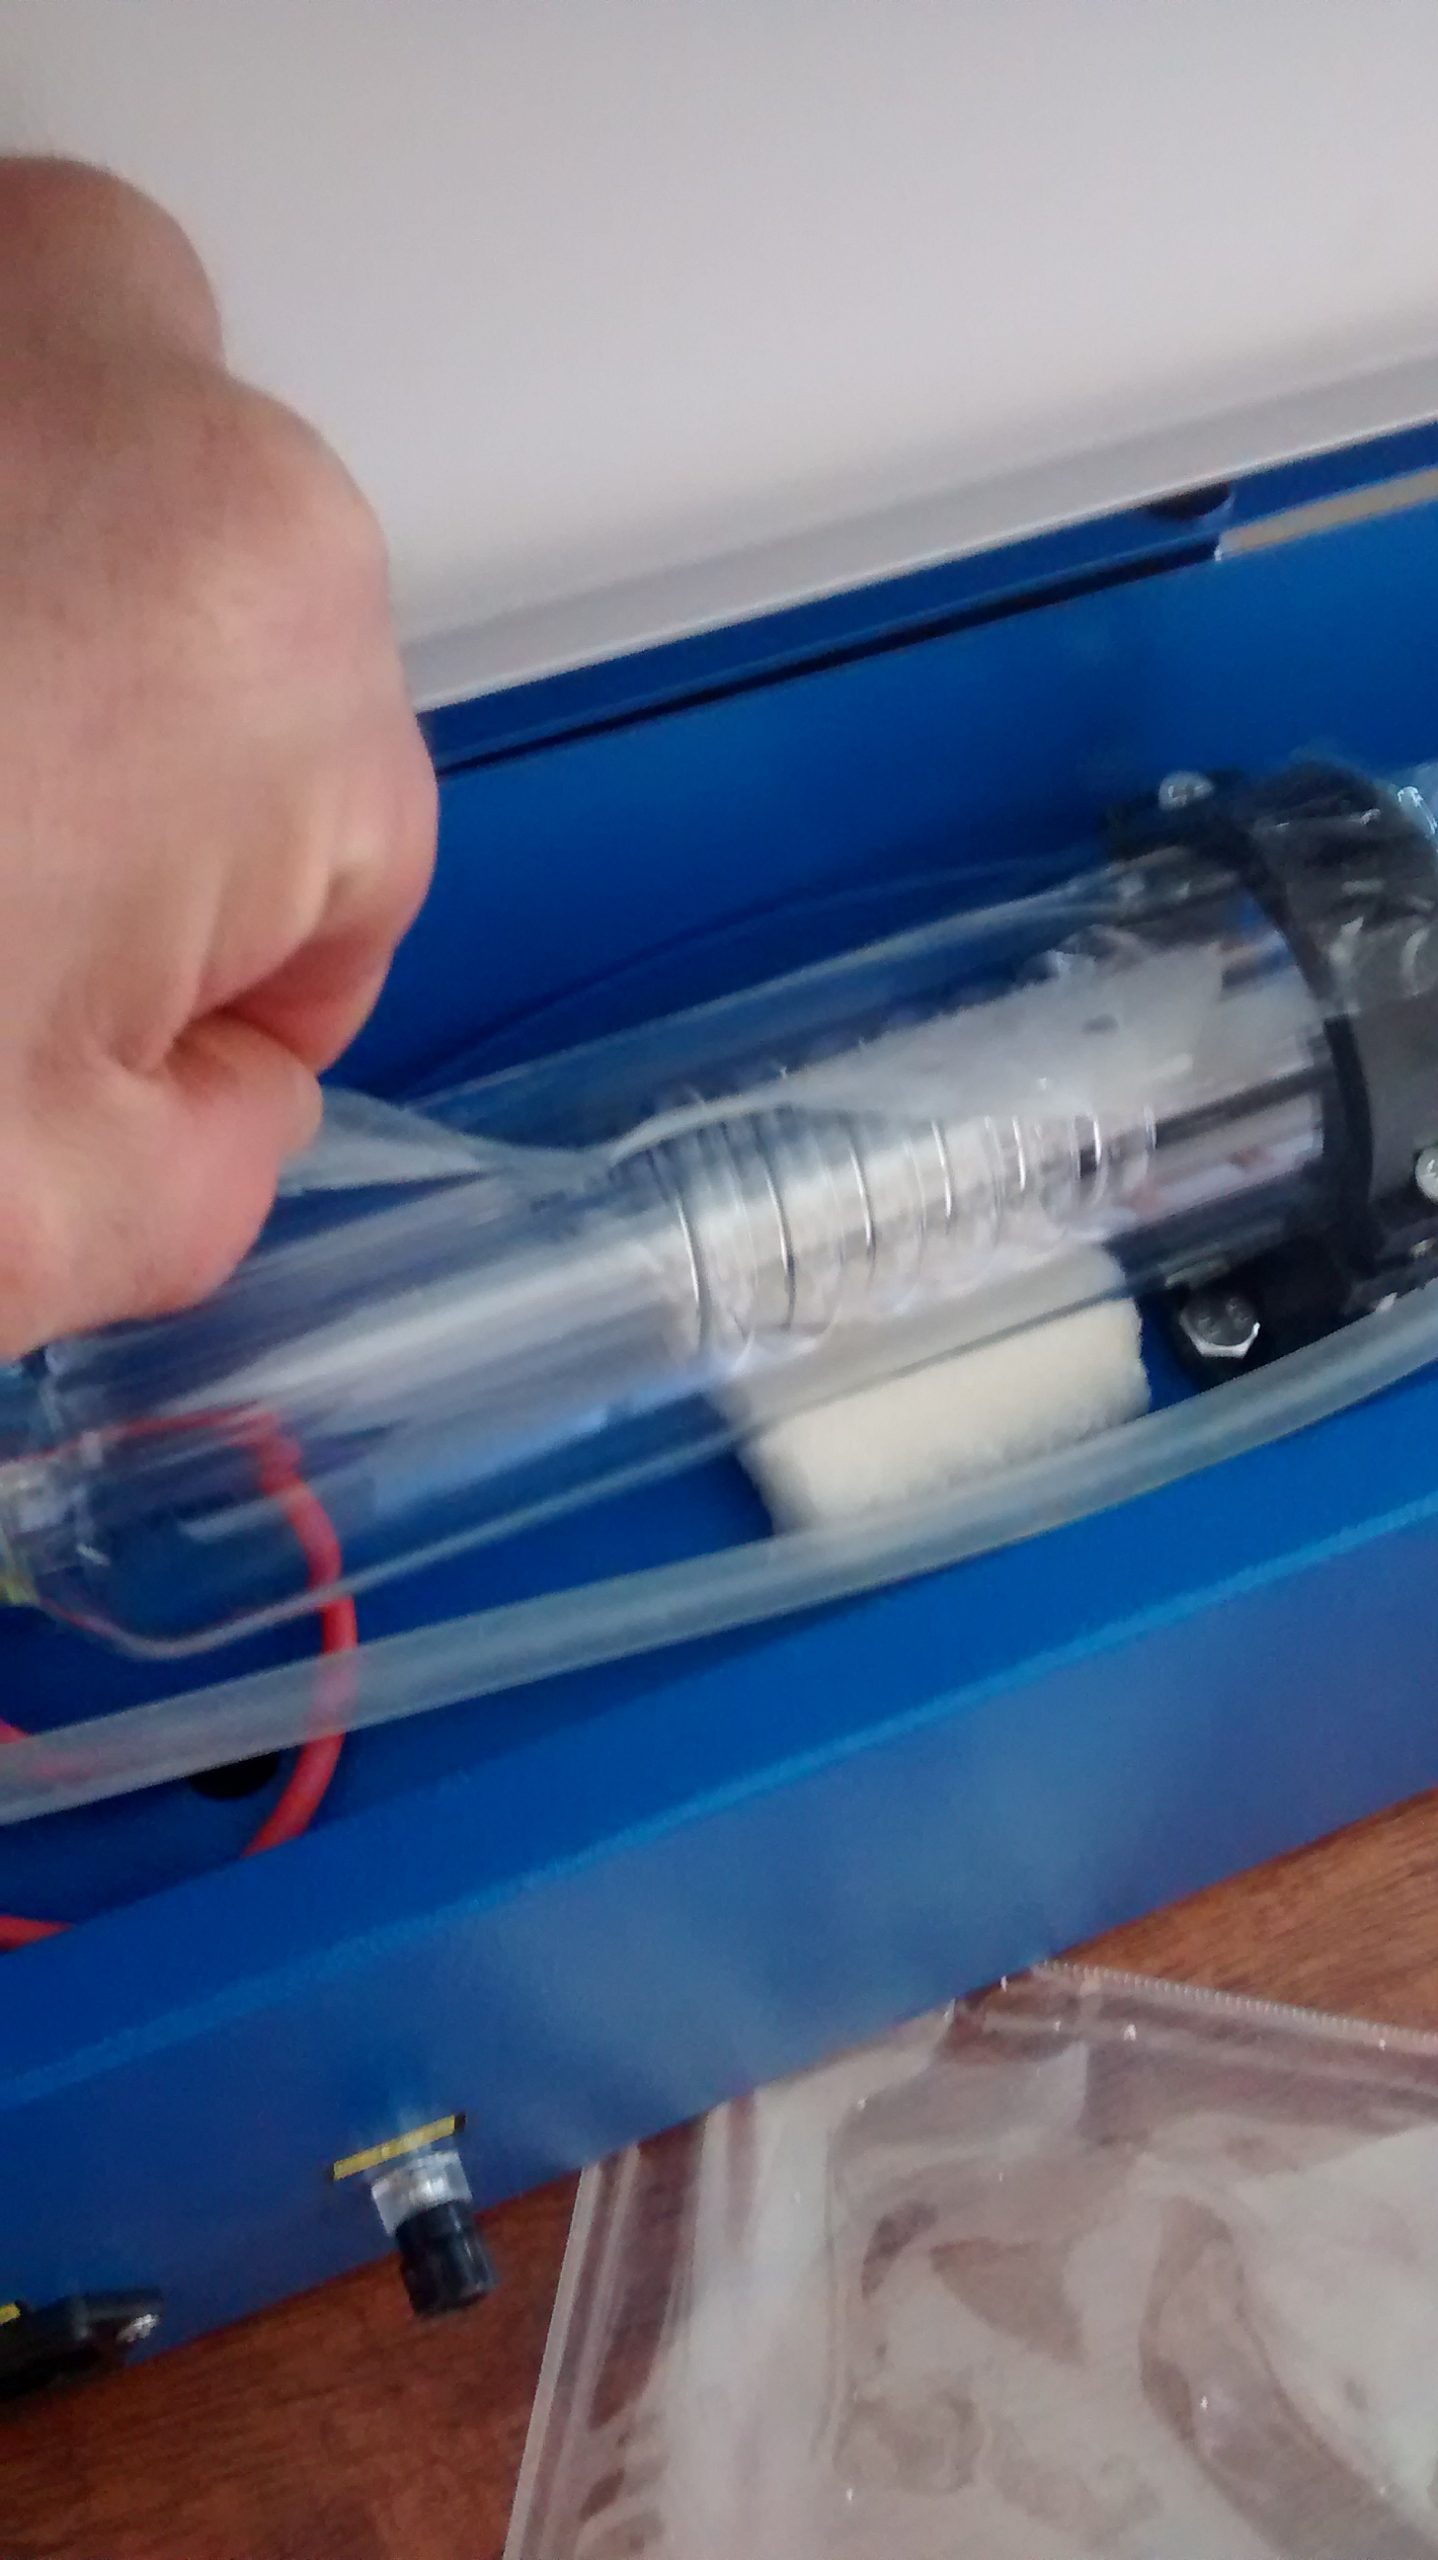
Enter my new laser. Samantha didn’t really get it. I saved up several months of my blow money to purchase it, so she didn’t care that I bought it. She did, however, ask what it was for and why I wanted it. That, of course, is the dumbest question in the world… to which I had no concise answer. Finally, it came time to think about Christmas and the answer manifested itself.

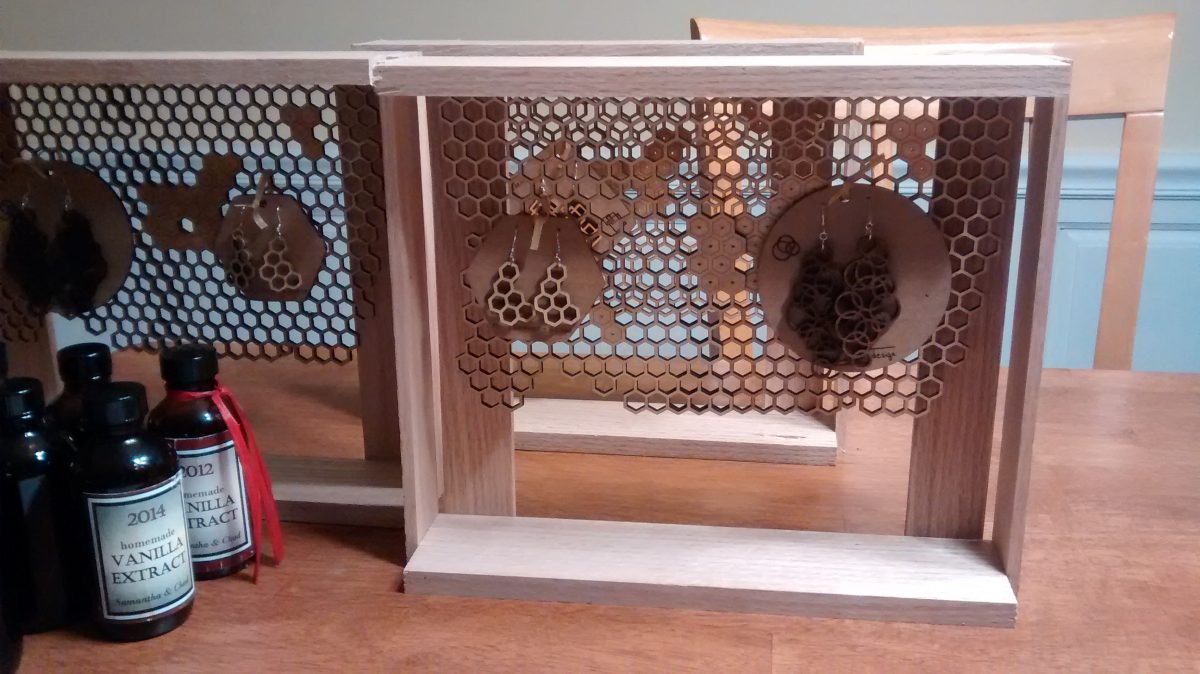
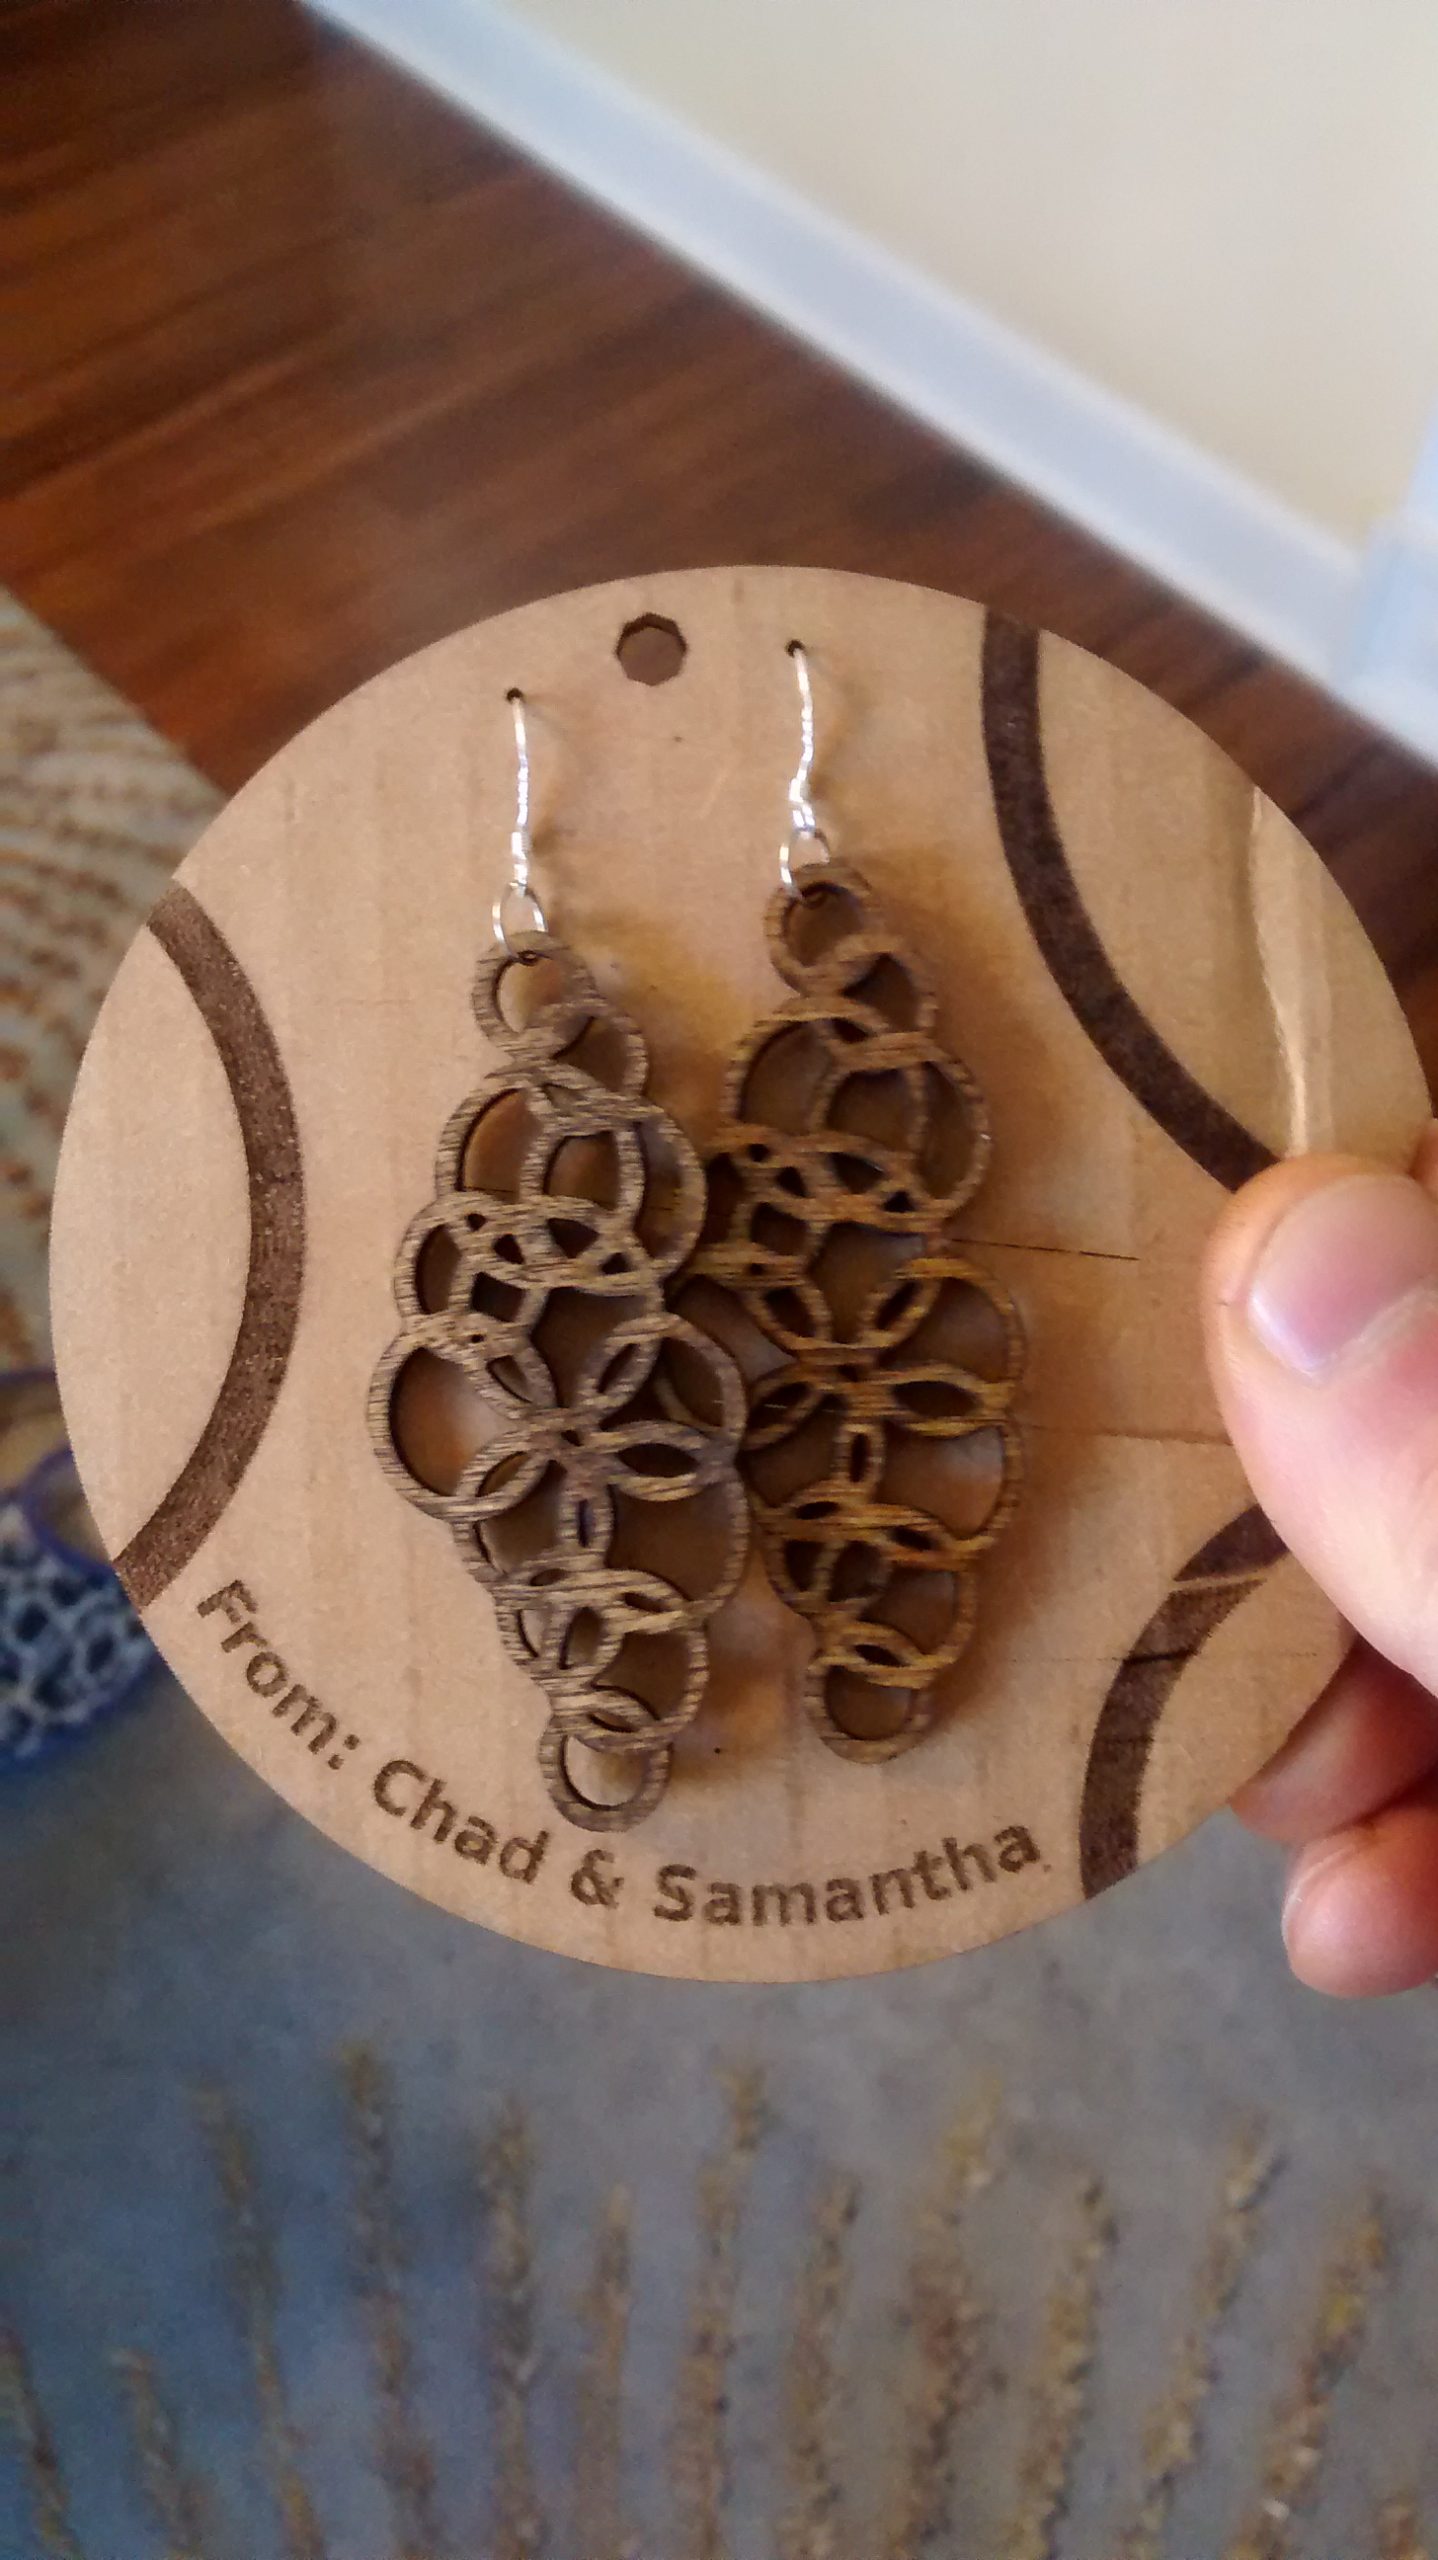
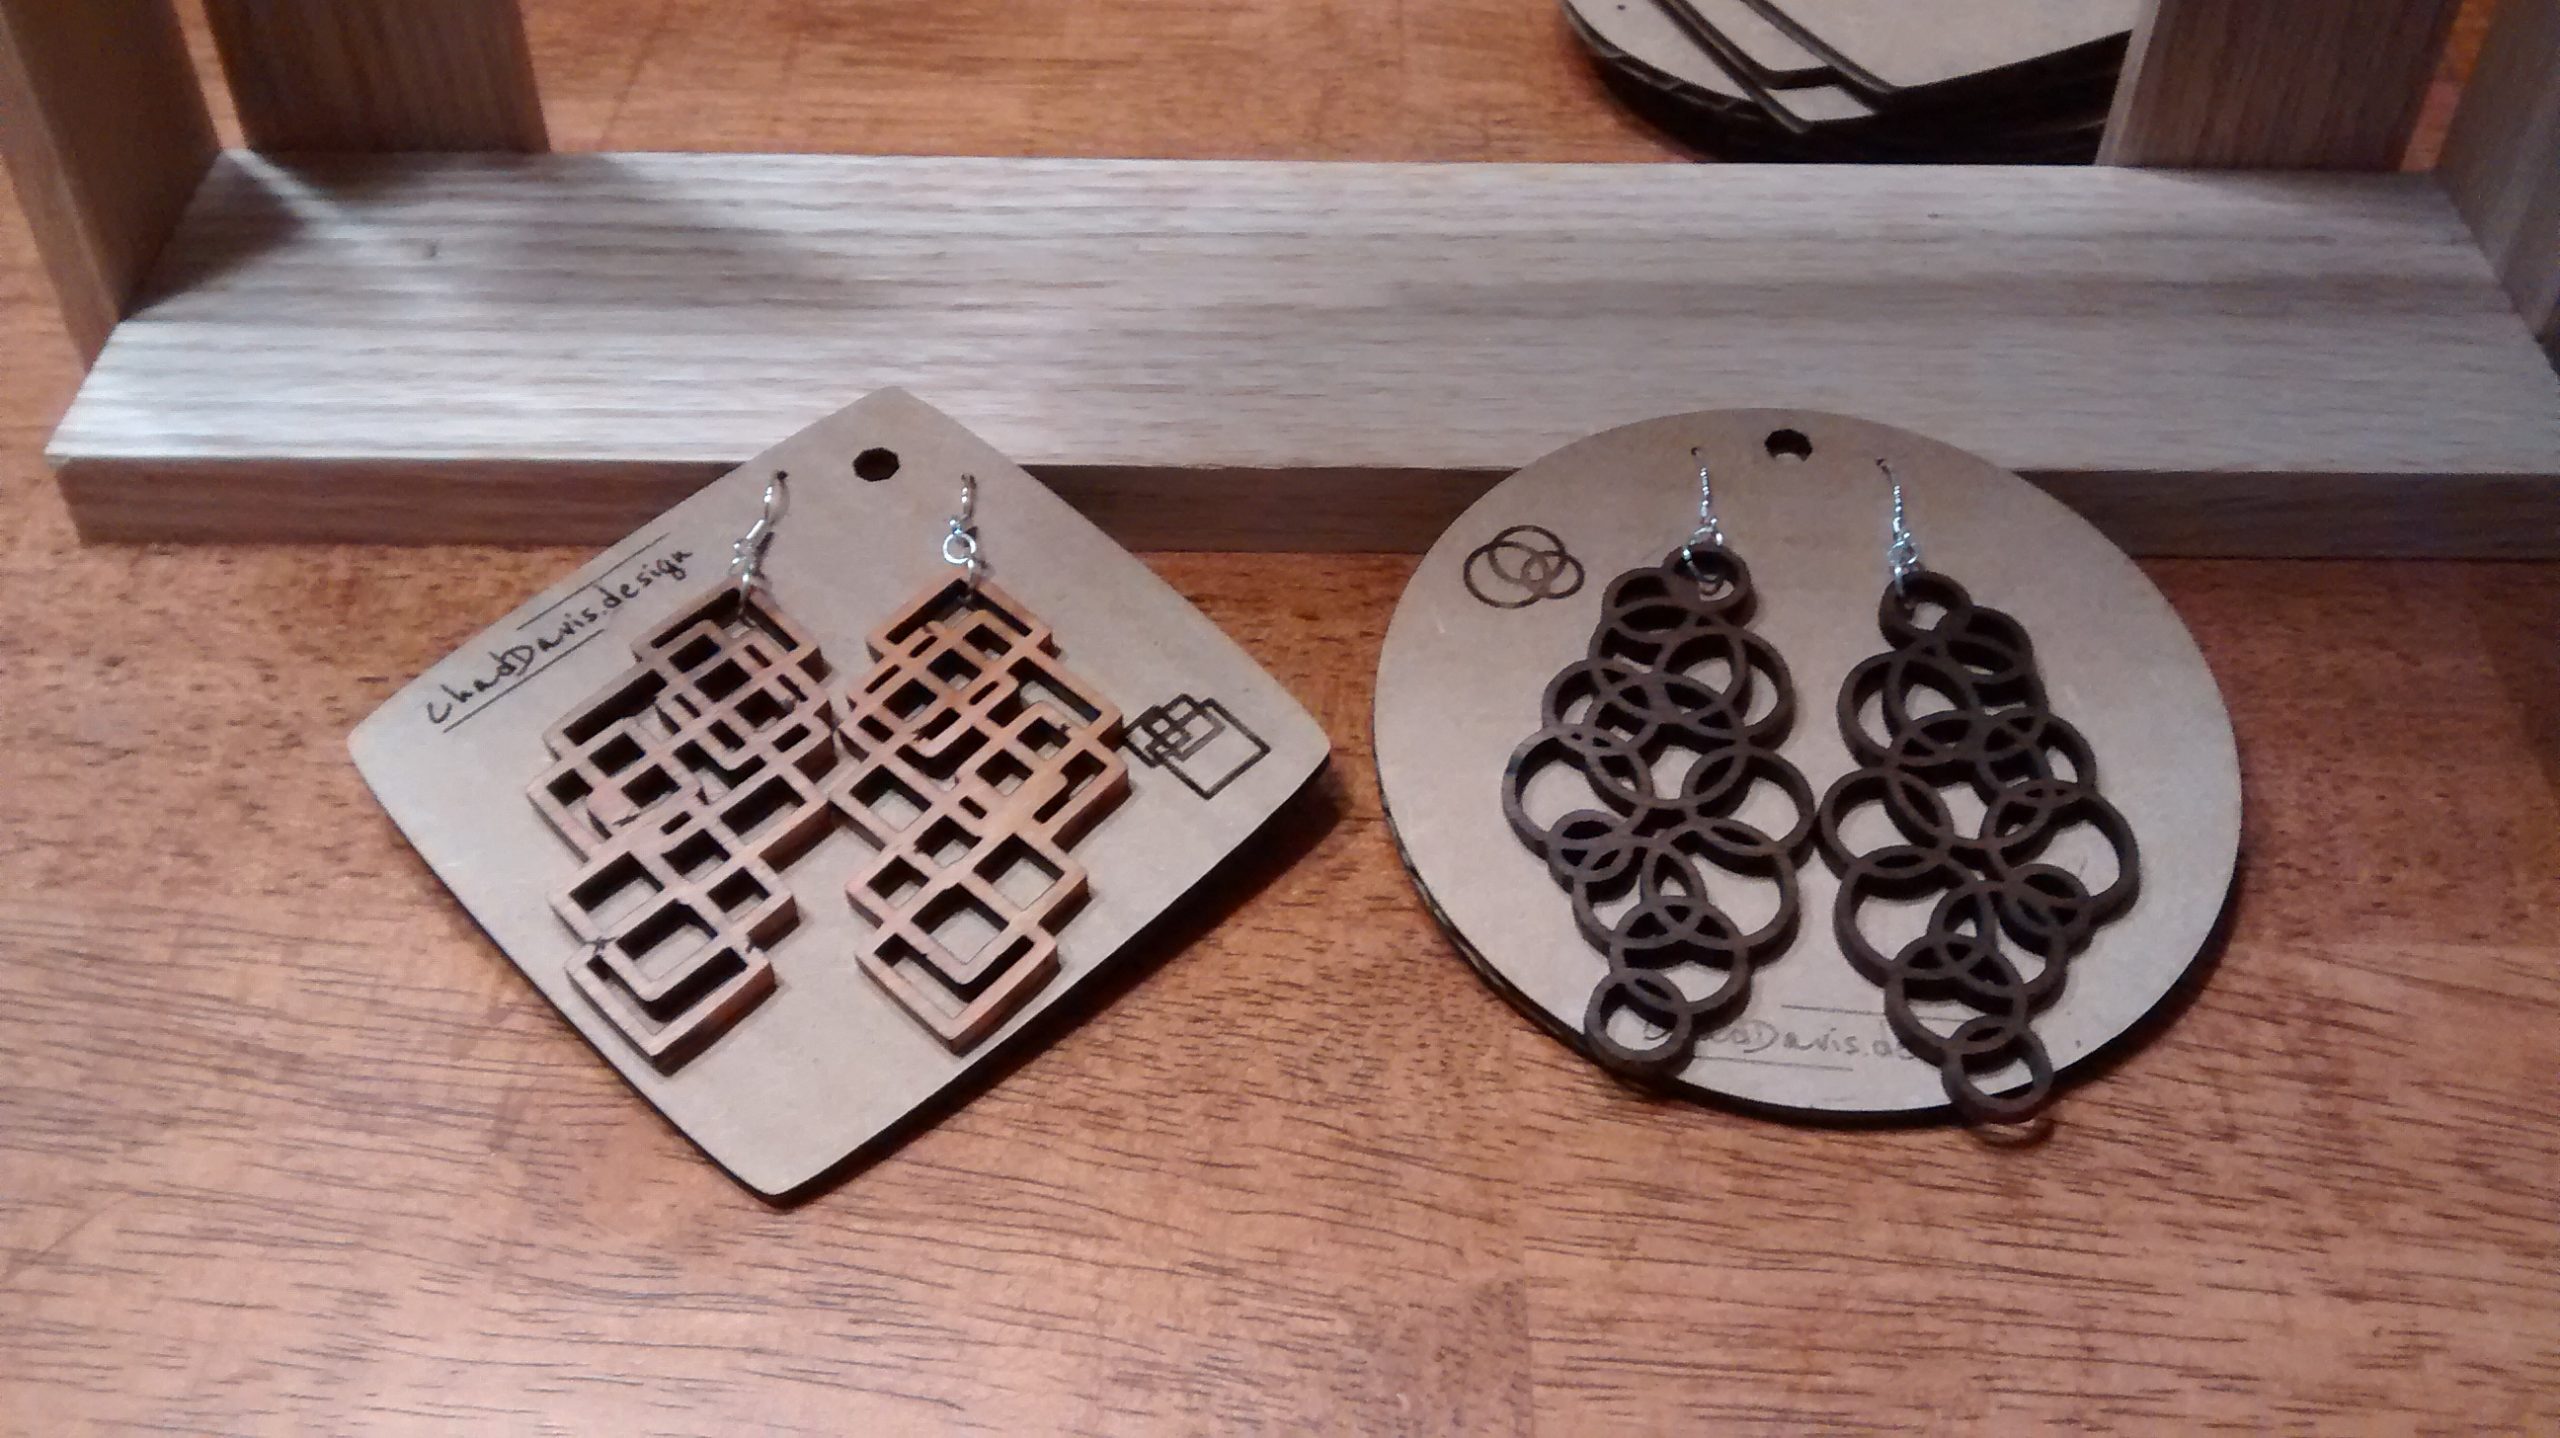
For all the women in the family, I made wooden earrings. Complete with a backing card made from scrap reclaimed corrugated cardboard. For the important women (mothers), I made honeycomb earring holders. (also pictured with the holders is the vanilla extract we’ve made for several years that is now a gift expected by a few)

They were well-liked, and more importantly to me, Samantha thinks I’m a little less crazy for wanting the laser.

Categories
Projects

K40 Wiring Diagram

The power supply that came with my K40 was a bit different than the typical one that I have seen in the various builds. In the end the only difference is the placement and labels on the output pins. I received a question about how to hook it up, so I dusted off and completed a wiring diagram I had started for when I get around to making a comprehensive page of my build (minus all the trial and error).

It seems people are stumbling upon this blog now; I should really think about completing the design of the website… Just another project on the list.

Here is the diagram for those who might find it useful.

Categories
Projects

Cutting Vent to Extend Work Area

The ventilation duct on the machine protrudes into the work area quite a bit. The sheet metal is spot welded in a number of inaccessible areas– otherwise I would remove the entire duct. So I just lopped it off with a Dremel (actually a Rotozip). Not perfect, but much straighter and cleaner than the cut made by the factor in the aluminum channel next to it.

Categories
Projects

Mounting the LCD Display

The control panel on the lid was the obvious place to mount the LCD. I had already removed the potentiometer for laser intensity and the momentary switch for test firing the laser– both of those functions were present in the Arduino controller. I had thought about keeping the ammeter and the laser power switch, but they were in the way and really didn’t provide anything too useful. So they’re gone now, leaving only the power switch.

The only other issue was the distance from the panel to the Arduino at the bottom of the case. So I found som

The control panel on the lid was the obvious place to mount the LCD. I had already removed the potentiometer for laser intensity and the momentary switch for test firing the laser– both of those functions were present in the Arduino controller. I had thought about keeping the ammeter and the laser power switch, but they were in the way and really didn’t provide anything too useful. So they’re gone now, leaving only the power switch.

e 70cm IDC cables on eBay.

In Inkscape I drew a mounting panel as well as some spacer washers that would hold the LCD and cover all of the holes left by the abandoned controls, starting with GLDC controler.GTO from the schematics file of the RepRapDiscount Full Graphic Smart Controller page. I opened it in Gerbv and exported it as an SVG. The size of the LCD screen was way off of the outline in the file, but everything else seemed correct so I made an outline slightly smaller to overlap the metal frame around the LCD and centered it on the PCB as the LCD seemed to be.

I experimented with some scrap hardboard I had and decided to cut it at 300mm/sec at 50% power. I renamed the Inkscape layer to 50[feed=300] and exported it with Turnkey Laser Exporter plugin.  After starting I had to stop and go back to Inkscape to reorder the paths to cut from the inside out for the nested parts. It worked great other than there being a bit more flame than I would like, but an air assist which is already in my plans should help with that.

As amusing as the instructions on the panel in broken English are, I didn’t really want them there. After tearing off the sticker on the panel there was some chipped paint and a bit of adhesive that just didn’t want to come all the way off, so I just flipped it over. I placed the mounting panel were I wanted it traced the location of the LCD and marked the holes with a transfer punch.

Everything bolted together nicely and looks pretty clean. The SD card is also quite easy to access on the open lid which saved a bit of effort of trying to line that up with a hole and requiring the LCD to protrude from the case more.


Categories
Projects

Wire Cleanup & Blown Fuse

I cleaned up the rat nest of wiring I had from testing. I got some series 2500 wafer connectors and pins from Tayda to replace the headers on the RAMPS so I couldn’t accidentally hook something up backward in the future, as I tend to do that while quickly messing around in my moments of free time.

I still need to properly mount the boards and screen. I’m still debating where I want to mount the screen. I’m leaning toward mounting on the lid, but I would need some much longer IDC cables to be able to easily open the lid. To keep things clean and avoid wire nuts and splices, I also ordered some series 2400 pins to utilize in the wafer connector on the power supply for the 5v(red) and active low laser pin(green). I scavenged some XH series JST connectors (from an old IDE Raid array module) to use for the laser PWM(blue).

After reconnecting I fired it up and ran a program. I realized I had left the laser switch off. I clicked it on while the program was running and after a couple of seconds the motors stopped, the laser turned off and the LCD faded to black… shit. I could hear the pump and water running which was my first fear (a flow switch is on my list because I will forget to turn it on at some point) and I checked the tube and didn’t see a problem. I didn’t have a light on the power switch but I had 120v on the female end of the power cable.

After taking a closer look at the male connector I see a built-in fuse holder.

I think it says 4A on the fuse. First I checked that there were no direct shorts, and there were not. 40W at 120V would be about 3A. Plus maybe a couple of hundred mA from the motors. Some more current from a spike from pushing the switch and of course some inefficiency in converting to higher and lower voltages. 4A seems reasonable to get to, so hopefully, it is that and not a failure somewhere. I’ll find out after I get some replacement fuses… I think there is still one Radioshack left in town. 

Perhaps I should dial back the laser output as well.


Categories
Projects

New Project Delivered

I’ve had a laser on my list of tools to acquire for well over 10 years. I’ve thought about building one, but with no prior experience with laser tubes I never really felt comfortable starting that project.

I noticed, maybe last year, cheap Chinese made 40w laser cutters (K40) has been coming down in price and contemplated getting one, but my money was stretched to thin between other projects. At the time and I only had $50/month budgeted that I could spend without the wife’s say (we call it blow money) because we were on the last stretch of a multi-year effort of pouring extra money into the mortgage to pay off our last debt. Plus I would need to build a new controller for it because I couldn’t find anyone happy with the software it came with.

I came across a buildlog for conversion of one of these lasers a couple of weeks ago. He had the laser at $487 and replacement electronics at $65.  It had been a few months since I really spent any blow money… I could do $550 in another couple of months.

I started shopping and found the laser for $387 and the replacement electronics (Arduino Mega2560, RAMPS 1.4, Reprap Smart Full LCD, and A4988s) for $35 total.  Done.

A week later I found a crate on my porch. Most importantly everything, including the glass tube, was in one piece. Pulling the box out of the crate was a bit awkward by myself, but it was going to be hours before my wife got home, so I managed.

The software came with a USB hardware key. (really!?) Trying to get that to work with Wine under Linux was probably not going to be worth the effort to test it since I was going to pitch it after replacing the electronics. Microsoft products don’t run in my household, so I’ll just have to wait for the new electronics before I can test it.

I didn’t realize the K40 laser intensity was manually set only with a potentiometer. So, not only is the Arduino/RAMPS open source and run with g code, it adds the ability to dynamically change the power output during a program. It looks like I should be able to just drop the firmware in place thanks to Lasing Makers Network and TurnkeyTyranny modifying Marlin (the firmware the 3D printer RepRap uses) for use with this laser.